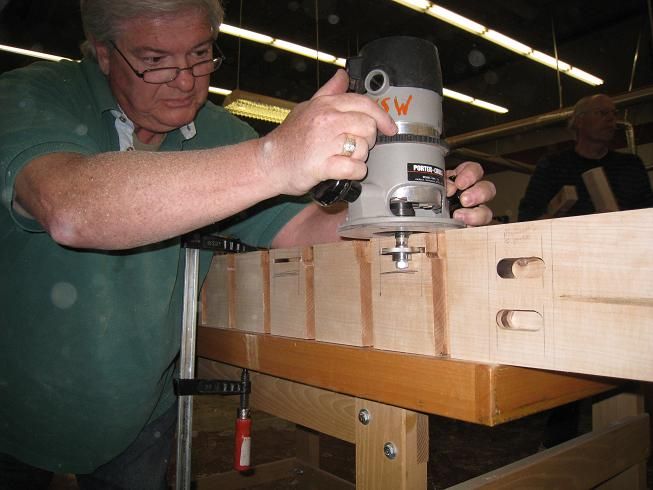
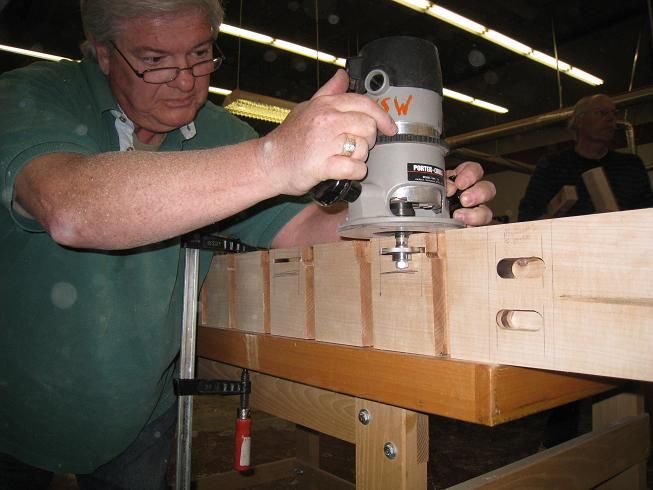
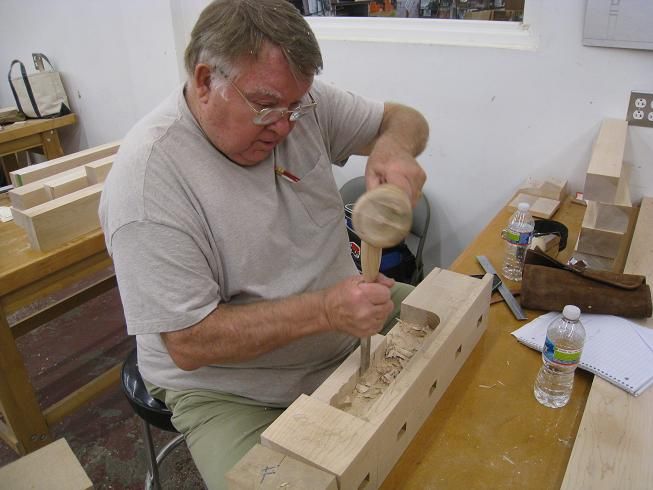
Larry is cutting the spline slots to align the benchdog slab to the benchtop
Bill Peck is blogging his way through building a workbench at the Connecticut Valley School of Woodworking.
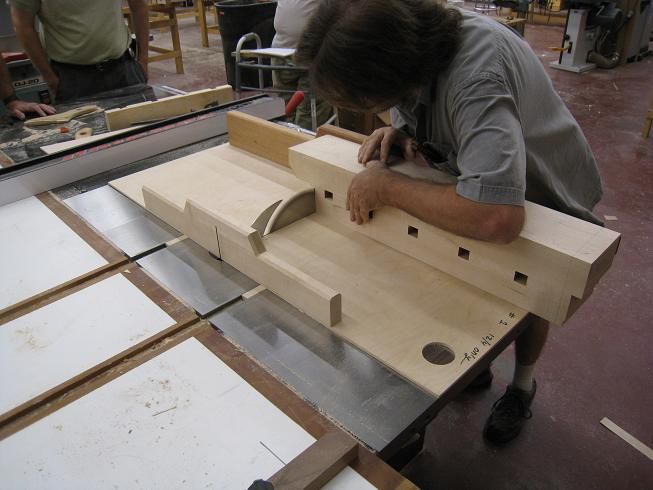
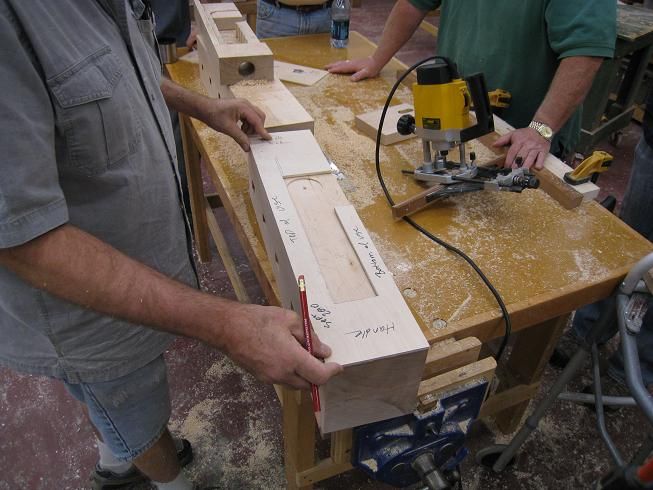
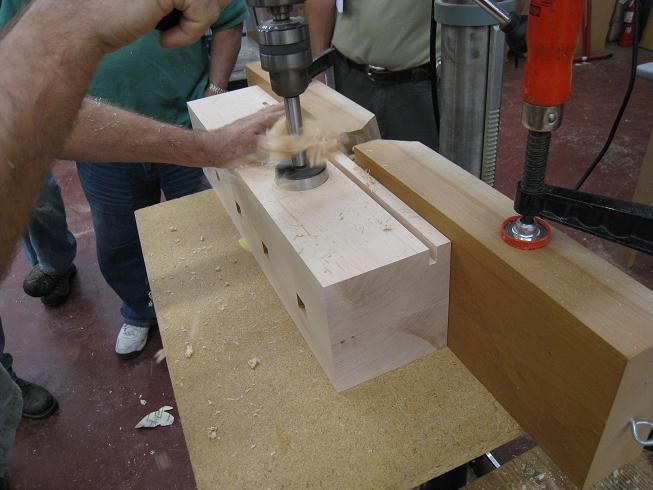
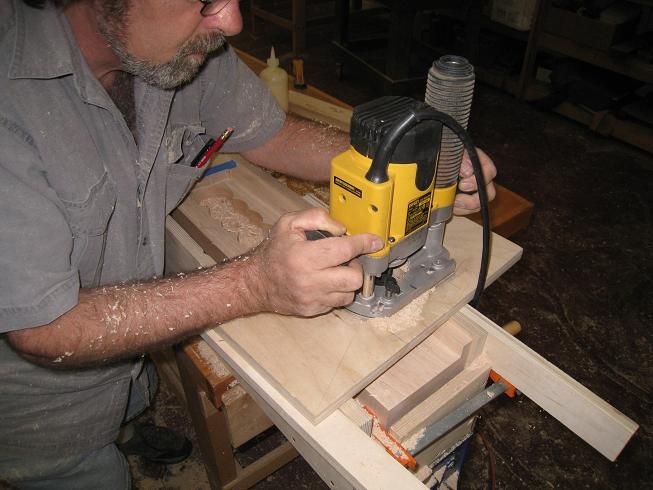
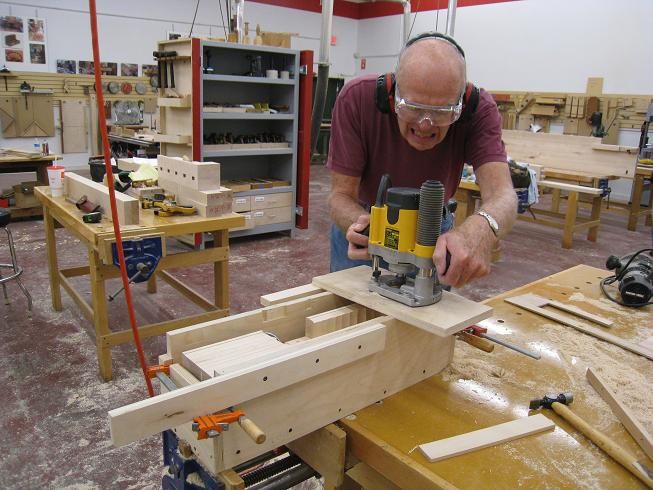
Today’s main activity was milling out the cavity where the end vise metal hardware will go. A lot of wood has to be removed and it took drill presses, routers, and the tablesaw to get it all out. Precision is required here because the alignment of the end vise to the workbench top is determined by the location and flatness of the mounting surfaces for the vise runners. Fortunately the jigs and fixtures at the school helped immensely in this task.The multiple operations took most of the day with other tasks interspersed in between.
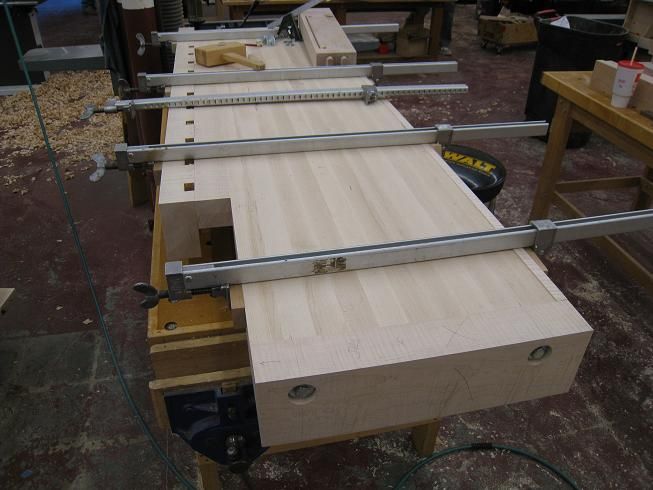
End caps, back rails, and benchdog slabs were dry fitted to the bench. Quarter inch thick wood spines were used to control the slignment of these heavy part.
Tomorrow we will be installing the end vise hardware into the end vise cavity. Glue-up of the fitted parts is also planned and then we will tackle the front vise which has a twin screw. We’ll make the wooden vise parts which have a cavity for the twin screw mechanism. Cutting precise holes in the benchtop for mounting the screw mechanism is also on the agenda.
The benchtops are starting to come together and are looking good. One student is making his from curly maple, so that will add a special look.
Tomorrow I will tell you how the day’s activities went and show you some more pictures. Come back then.



Log in or create an account to post a comment.
Sign up Log in