5 tips for aspiring plane makers

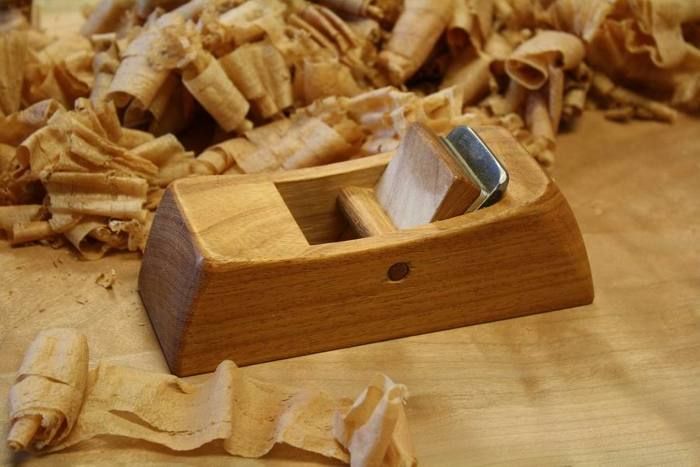
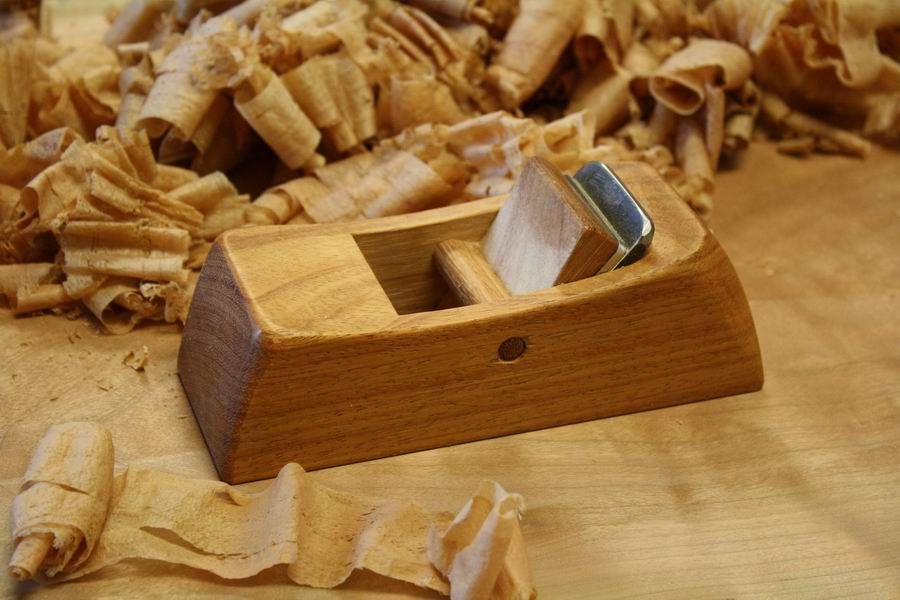
One of Clark's smoother planes, and a fresh pile of fluffy shavings.
One of the first things I learned at College of the Redwoods (after sharpening) was how to build a wooden handplane. I remember one of our instructors, Greg Smith, saying something to the effect of, “It would be really good if your first one came out great.” My first plane, an all-purpose smoother, could charitably be called tolerable, if all of your other tools were on fire. Luckily, I wasn’t so discouraged by the first one that I swore off wood planes forever, and, figuring that chances were slim (although not by any means impossible) that I could build a worse plane, I attempted a second plane, this time a round-bottom coopering plane. As luck would have it, I did, in fact, manage to make a crummier plane than the first one, and I ended up borrowing one from instructor Michael Burns to start and finish the cabinet I had planned.
Since then I have built almost twenty planes, and I have learned something new every time. For such a simple tool, they are amazingly refined, and every detail affects their performance and comfort. In a way, building a plane is like cabinetmaking itself: details, each with its own purpose, add up to a unified whole. Change one detail, and you end up with an entirely different piece. Not necessarily better or worse, just different. Anyway, all this is a way of saying that I love making planes, and I wanted to share a few tips and techniques that have worked well for me. I should stress here that I did not by any means invent this kind of plane, nor is this the only way to make a plane. However, building them this way has, for me anyway, led to more successes than failures (although not by a landslide.) For further reading, I would highly recommend David Finck’s wonderful book Making and Mastering Wood Planes or the article (“Wood Planes Made Easy“) he wrote for Fine Woodworking. Or you can check on the blog I recently wrote on this same subject, but with a bit more detail about the individual steps.
Now, let’s get to it. And remember to have fun!
- Beacuse there is very little room for error, there is a sort of necessary honesty to making a plane. What I mean is that there is nowhere to hide, no way to patch veneer, or fill in with glue or putty or shellac. No tricks. You either remember all the steps, and your plane works great, or you don’t and it doesn’t. However, don’t let that discourage you. It is definitely worth taking the time to do things right, but it is not the end of the world if everything doesn’t go perfectly. If things do go wrong and the plane doesn’t come together perfectly, the most likely outcomes are a plane that is finicky to adjust, one that takes only heavy shavings, or one that suffers from both problems. Those are frustrating problems for sure, but not deal-breakers. And you will have learned from your mistakes. You next plane will almost certainly be better.
- Find the right piece of wood. You can use almost any kind of hardwood, as long as it is reasonably heavy and stable. And use a wood that you enjoy. After all, you might spend the rest of your life building furniture for other people (regardless of whether you are giving it away or being paid for it, which always still feels like you are giving it away), but you get to keep your planes. Make it out of something you love, something that will not let you do bad work. For domestics, maple and oak both seem to work great. Exotics work well too, but avoid the extra-oily varieties (I have a cocobolo smoother that is falling apart on me!)
- Have the iron in hand before you begin to make the plane. I think I have failed in this regard almost every single time I have made a plane! Because the body of the plane is milled to the width of the blade plus 1/16 in., it is much easier to make the plane’s parts if you have the iron before you start. If the body is much more than 1/16 in. wider, the blade tends to rattle around in the plane, like trying to play soccer in Frankenstein’s boots. If it’s any less, you might have trouble adjusting the blade to account for an out-of-square grind.
- Be extremely careful when milling and re-milling the parts to get them ready for buidling. It is very easy to take just a little too much out of the body of the plane, making it too narrow for your blade. Then it’s time for a boring couple of hours on the grinder to try to get your blade/chipbreaker assembly to fit. I am speaking from experience. And more experience. And really? Again? If you are worried about having enough thickness for both the plane body and the two sides, saw them out of separate lengths. The grain won’t match up quite as well when the plane is glued up, but it should be just as stable. And, if the thickness of the plane body really gets away from you, you can always start over. At this point all you have invested in the project is a half-board-foot of lumber and the time spent resawing it.
- The bed needs to be dead perfect. And flattening the bed is almost always the most time-consuming (and frustrating) part of building a plane, but it also the most critical. If you are having trouble planing the bed flat, you can try sanding it with a piece of sandpaper stuck to your jointer’s table, using its fence to keep things square (just like you would when jointing the edge of a board).
A note from Matt Kenney: You should really go to Clark’s webiste and check out his furniture. It is fantastic. Also, keep an eye out for Clark in upcoming issues of Fine Woodworking. He and I are working on a few things right now. One of them is a very cool item for the Handwork section of the magazine.


Comments
I participated in Tools & Techniques at The College of the Redwoods several years ago. It changed the way I look at woodworking. I learned how to make a tool sharp and then I also learned to make wooden body hand planes. Outfitted with a sharp, heavy, blade; they are a wonder to use. I only wish I had learned these skills years ago.
So far I have made six krenovian hand planes. And the last two I made without having the plane iron. And I made both of the bodies too narrow. Instead of grinding the iron down, I added a thin shop made veneer to both sides of the plane body. To me, much more preferable to grinding valuable steel.
One more tip. If you use an oily tropical hardwood for a plane body, swab down all the pieces with acetone a couple minutes before gluing up. The glue up should last a few generations.
I had the joy of making a smoother, coopering, jointer and scraper plane while attending the Inside Passage School of Fine Woodworking a few years back. Robert and team run a wonderful program. Using the handmade planes always puts a smile on my face. I have some 12/4 Santos Mahogany and 12/4 eastern hard maple for a couple new planes I plan on building soon. Enjoyed this article.
Okay, now I'm totally inspired to try making a wooden hand plane. My question would be... What are some sources for irons? Seems like everyone sells Stanley replacements.
@Nobunaga14:
You can't go wrong with a blade from Ron Hock (http://www.hocktools.com/). Just look for "Krenov-style" blades in the product listings.
I built a wooden plane just the other day using a 1-3/4" Hock blade. It has a curved sole with a longitudinal 36" radius, for planing the concave side of a chair's top rail. Works great.
David Finck, the author of the article and book mentioned above, also sells appropriate blades (http://www.davidfinck.com/), but I don't have any personal experience with them.
-Steve
Thanks so much Steve!
I have one of the Hock marking knives so i know what you are saying. Don't know why it hadn't dawned on me.
Thanks for pointing me in the right direction.
Can't wait to give plane making a try!
Dennis
I built my 1st wooden plane a few weeks ago from a Veritas
hardware kit. I am hosed. All I want to do now is build planes!
I use laminated home store red oak for the core and "pretty" wood
for the sides.
The block plane kit used a Norris style adjuster. While it works
great, for my 2nd plane used a stainless steel cross pin with a brass 1/4-20 thumb screw and conventional "tap-tap" lateral adjustment. Works just as well. (I like the screw better than the friction type wedge.)
Just build one........ you won't look back. I may be having a vintage
Stanley sale soon!
Log in or create an account to post a comment.
Sign up Log in