Make a Pair of Grooving Planes
A fast, quiet way to cut grooves in small parts.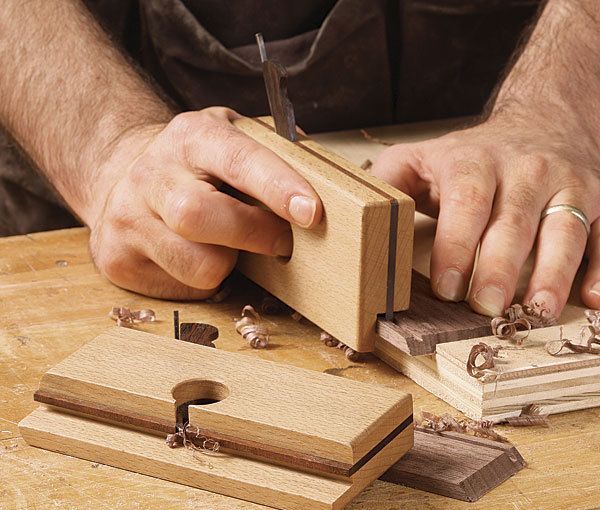
Synopsis: You don’t need power tools when you need to create a lot of grooves of the same width and distance from the edge, such as when making boxes or drawers. All you need is to make a pair of Matt Kenney’s grooving planes. Equipped with a built-in fence, these planes plow a perfect groove in about a minute, with no setup needed. You need a pair so you can always cut with the grain. Simple, efficient, and quiet. And easy to make. Just the way this hand-tool lover likes it.
We’re giving away the grooving planes featured in this article, enter now!
When I make a cabinet with small drawers or a box with trays, I enjoy the time at my workbench making and fitting the parts with hand tools and a few bench jigs (“Make Short work of Small Parts,” FWW #214). Unfortunately, the efficiency and tranquility of my work were always interrupted when it came time to make grooves for the bottom panels, a task I did at the router table or table-saw.
One day it hit me: The grooves I use for small tray and drawer bottoms are always the same size and are inset the same distance from the edge, so I don’t need a power tool that can cut grooves of various widths or has an adjustable fence. A molding plane that cuts a groove rather than a profile would be a simple solution. So I made a pair of grooving planes with integral fences. A pair is needed so that you can always cut with the grain. They plow a perfect groove in about a minute, with no setup needed. by the way, you can make your set larger if you wish, and use it for fullsize drawers.
Body is a three-part sandwich
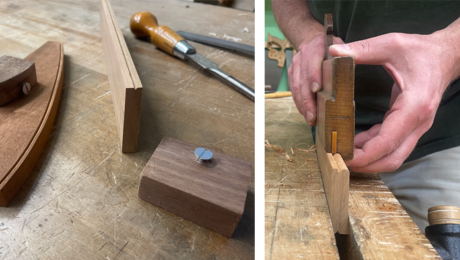
I like using planes, not making them, so I made these using a simple technique popularized by James Krenov. A middle piece, cut in two to form the bed, throat and mouth, is laminated between two sides. (On this plane, the middle piece also acts as the skate, controlling the depth of the groove.) Because you cut apart the middle piece at the table-saw, it is easy to get a perfectly formed bed, throat, and mouth. Mortising and filing are not needed.
I use beech for the sides, but you could use any hard, stable wood. I start with a 5/4 board about 18 in. long because I make two planes at once and it is safer milling a longer board. Resaw the board into two pieces, just over 1⁄2 in. and 3⁄8 in. thick. After jointing the resawn faces, plane the boards to final thickness. I rip the thicker, wider board to width, rout a rabbet on the side that will have the fence, and then rip the other side to width. At this point, I crosscut both pieces twice. This breaks apart the two long pieces, leaving me with the four sides of two planes.
Now joint and plane a core piece from any hard, durable wood, so its thickness is equal to the blade’s width. At the table-saw, crosscut the stock to form the bed and throat pieces.
For the full article, download the PDF below:
From Fine Woodworking #219
Fine Woodworking Recommended Products

Olfa Knife
Veritas Wheel Marking Gauge
Lie-Nielsen No. 102 Low Angle Block Plane




Comments
Why do you say "A pair is needed so that you can always cut with the grain"? Do you make the second one slightly different from the first?
One cuts right handed and the other cuts left handed. If the grain is working against you with one you'll want to plane the other way, hence needing a pair.
Can anyone advise why Matt set the bed angle at 57 degrees vs the more standard 45? assuming the iron is bevel down, the blade with a 25 degree bevel would meet the wood at an angle of 32 degrees vs the more typical 20.
this article is from 2011, a check at Lie-nielsen .com no longer appears to offer the 1/8" blades suggested here.
Log in or create an account to post a comment.
Sign up Log in