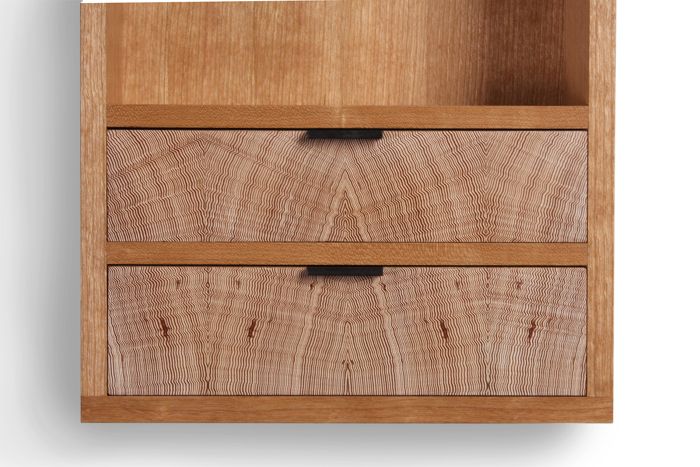
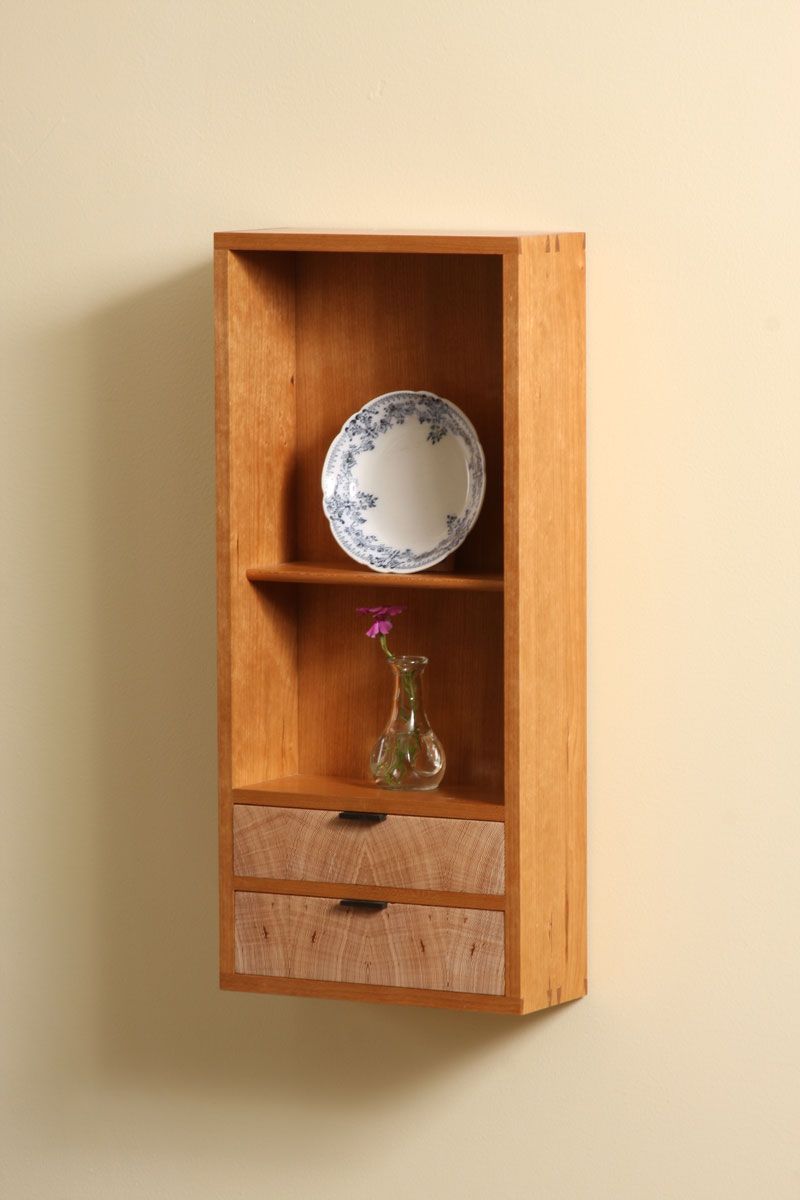
Not too long ago, I decided to build a small wall cabinet for my kitchen. (Of course, by “I decided” I mean that my wife was exasperated with my collection of wallet, keys, and small oddments strewn higgedly-piggedly across the kitchen countertop.) I challenged myself to make it from a single small 8/4 cherry board (offcut, really) that I had, allowing that I’d make any drawer sides and bottoms from secondary wood (white pine). So, I came up with a design: two drawers beneath an open space above that has a single shelf. I set about building the carcass and thinking about the drawer fronts at the same time.
MORE ON THE USE OF END GRAIN

Audio Slideshow: An Outstanding Design
End Grain on Display
Back Cover: Old-Growth Splendor
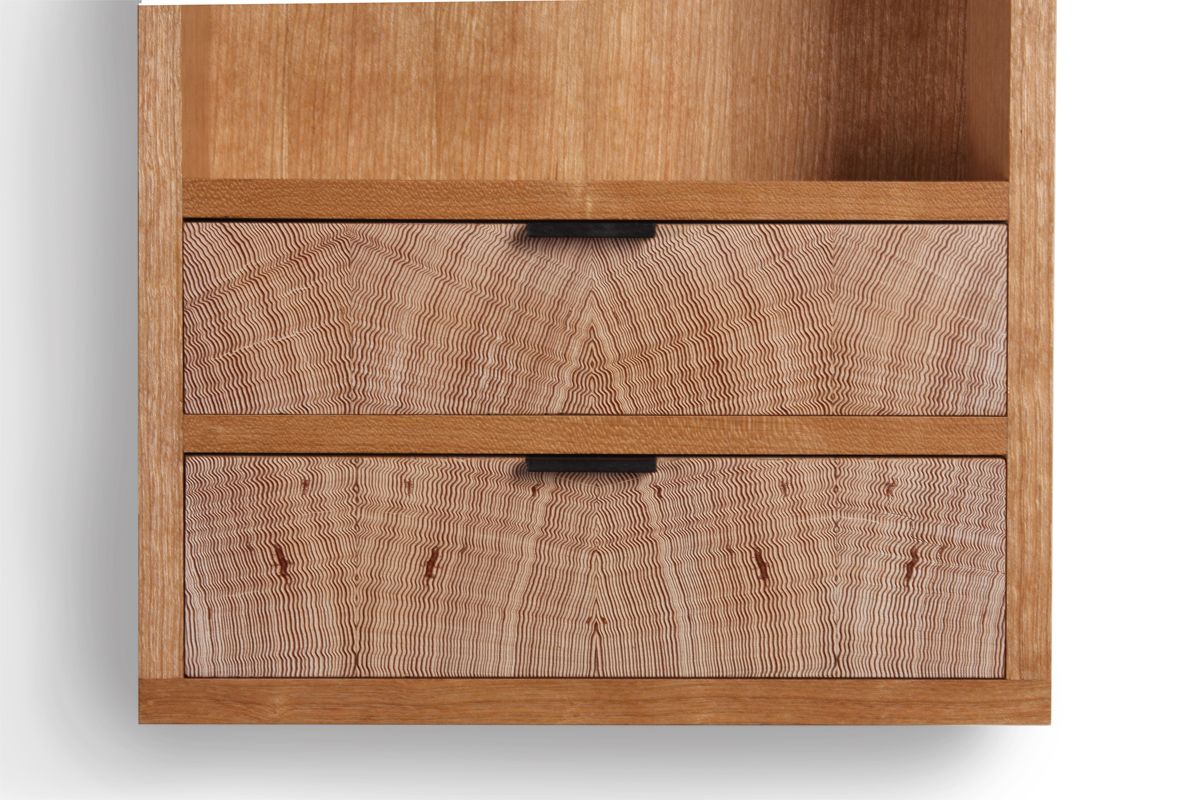
I found myself standing next to my lumber rack, thinking about the drawer fronts. Perhaps I had a small piece of spectacular cherry stashed away? No. Perhaps come cocobolo? Not the look I wanted. And then I saw it. That old growth douglas fir board I bought on a whim. It’s 2 1/2 in. thick, about 5 in. wide (and 12 ft. long). That could work. It has beautiful face and edge grain and since the cabinet’s drawers are so small, I could use either for the fronts. But then it hit me. I remembered a back cover we ran not too long ago. It featured a sideboard by John O’Brien and Harold Wood of Texas with end grain drawer fronts. I really like that piece and thought to myself, “Why not use the end grain to make veneers for the drawer fronts?” The end grain is actually slightly figured and quite beautiful. And I knew that book matching it would make for a stunning effect.
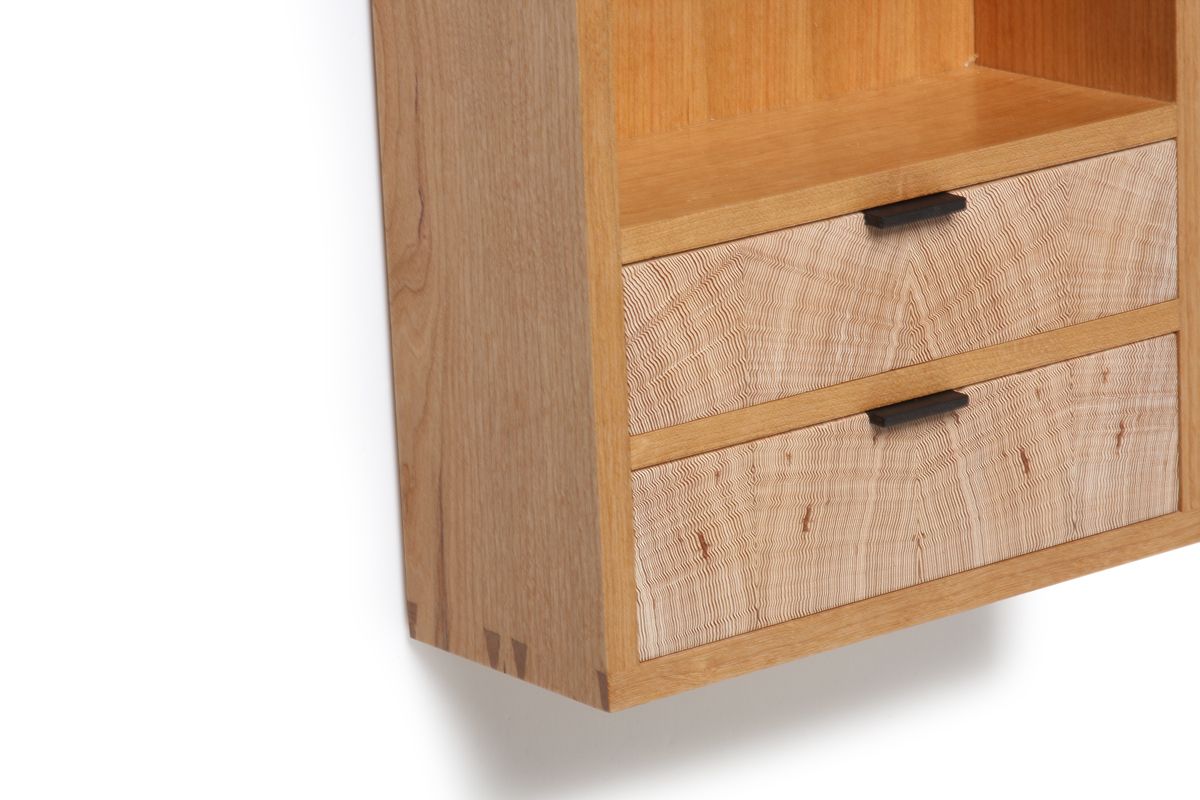
So, I cut off of a short length from the board, squared it up and cut some 1/16 in. thick slices of end grain at the bandsaw. I used my standard blade for the job, a 1/2 in. Woodslicer. It worked fine. But I would suggest having some kind of zero clearance set up (the resaw cuts are actually crosscuts and can tear out the grain very easily). I used a thin piece of plywood, feeding it into the blade and then clamping it to the table. After cutting the slices of endgrain, I played around with different ways to arrange it and eventually struck on a design I liked. Two pieces are bookmatched and in the center. I then bookmatched a piece to the other side of each center piece. That was all glued together at one time. I glued up four pieces running the grain vertically, so that the board’s width became the veneer’s height. I used Titebond I for glue and blue tape stretched across the joint for clamping pressure. A brick placed on top and a piece of MDF beneath kept the pieces flat. I then cut out the two drawer fronts and glued them to the drawer boxes (quartersawn cherry fronts held to the sides with through dovetails) using liquid hide glue. Hide glue is reversable, so if things went pear-shaped (as the British like to say) during glue up or down the road, I could get the veneers off and save the drawers. Finally, I mortised in the small ebony pulls.
How have they held up? After a few months, very well. There has been no noticeable wood movement. And I think they look great. It’s just the right touch for an otherwise subdued cabinet. But do keep in mind that this is the first time I’ve done it. I believe it will hold together for the long haul (I followed sound construction and veneering techniques), but you never know. This was an adventure into unchartered territory for me. I’m glad I took it.
For more information on working with end grain, check out this article. And, by the way, this is the cabinet that I discussed with Mike Pekovich on a recent episode of Shop Talk Live.
UPDATE, 9/26/2012
I know it’s only been about 4 months since I made the cabinet, but I wanted to let folks know how the drawer fronts have held up. In a word: wonderfully. No shrinking. No Shrinking. No cracks. And they’re still glued down like the day I did it. I check in again during the winter.




Comments
Beautiful Matt, absolutely beautiful.
Great stuff, Sir.
I agree, awesome. How do you feel about updating us in say a year, once the Conn. seasons have run their course? It's just such an unusual technique, as you say, and I'm really curious about how the wood movement plays out in the long term. This is the sort of thing I would never have thought to do on my own, in part for the fear of wood movement, gluing, etc., and in part because it never occurred to me. So I'm grateful and curious. Thanks.
I'll gladly post back in a year or so, after the first winter. If I don't remember, feel free to email me (mkenney at taunton dot com). Our house is not air conditioned and we rely on a woodstove to help heat the downstairs (where the cabinet is) during the winter. Contraction might be an issue then.
Really beautiful and unusual. What finish did you use for the exterior of the cabinet, especially the drawer fronts?
andybarss,
I used Waterlox on the cherry. The drawer fronts and pulls only have Renaissance wax on them. I tested out other finishes, but they all darkened the end grain fronts too much and neutralized the color variation between the growth rings. It ended up looking a lot like the cherry. The wax did not alter the color at all and is fine here, because they won't be handled much and aren't in a high water area (like a bathroom).
Matt
Years ago I attended a wood finishing seminar by George Frank. He passed several pieces of wood around and asked what we thought they were, then he described the finish. No one came close to recognizing one sample. It was endgrain 4x4 treated posts he was considering using for his kitchen floor. I forgot what type of finish he had applied, but he was always so creative.
Matt, you need to give a nudge to the web team. This is the only article with a tag of, um, "hid glue".
I really think the drawer fronts are great. I have been trying to decide what to do with a number of walnut cut-offs I have. Didn't want to throw them away. Now I know what to do with them.
Thanks
Absolutely fantastic, Matt. I love the textured undulations on the drawer fronts. Definitely something to add to my vocabulary.
Vic @Tumblewood
Been 7 years now how did they do? That is most beautiful :-D
Log in or create an account to post a comment.
Sign up Log in