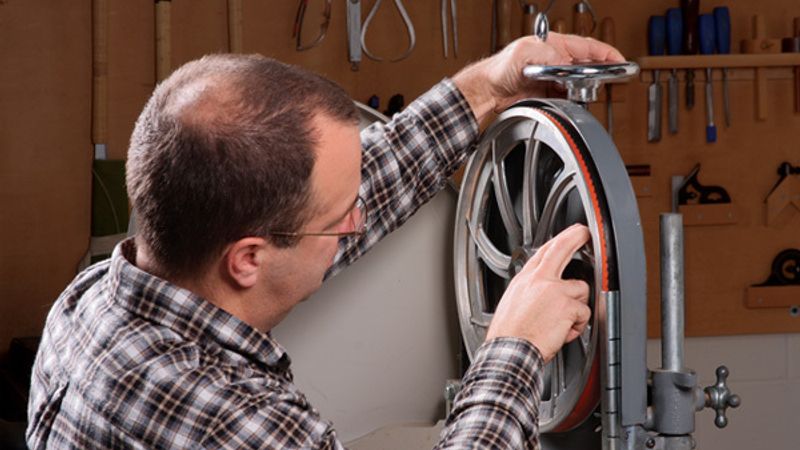
How to Change a Bandsaw Blade
Learn how to properly install the right type of blade and say goodbye to blade drift forever.

The truth is that most bandsaw problems, are actually blade-related problems. If you choose the right kind, tension it properly, and replace it when it gets dull, issues like blade drift will evaporate–never to return.
Woodworkers often assume that more teeth or a more expensive blade means cleaner cuts. This might be true of circular sawblades, but for bandsaws, a basic 3-tpi (teeth per inch), skip-tooth blade will produce superior results to models with 4tpi or more, no matter the task. Here’s why: The small gullets on finer blades pack with chips, causing the blade to resist the cut, twist, and “drift.”
In this short video, Fine Woodworking editor Asa Christiana demonstrates the right way to change a bandsaw blade, with special attention paid to dialing in the appropriate amount of blade tension.


Comments
HELP... I inherited a nice CAV Brand bandsaw from my Father. I was making good use of it until the blade broke. I have been unable to get the new blade on. I got the length recommend in the owner's manual, but it seems about an inch too short. And the tension knob on top will only lower the wheel about 1/4 inch.. I know my Father replaced the blade a couple times, but I don't know his trick to get it on.
So this contains advice contrary to Michael Fortune’s, also here on FWW. Fortune says you should adjust the table rather than the fence.
So one rule of thumb is that there should be at least 3 teeth in contact with the wood. And a second rule given here is that 3 or 4 tpi is the most you need. Combine the two rules and we have a minimum work thickness of 1 inch, or about 3/4 inch for 4 tpi. These thumbs don't work well together.
Log in or create an account to post a comment.
Sign up Log in