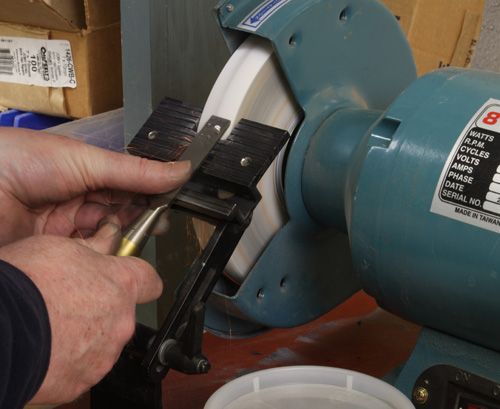
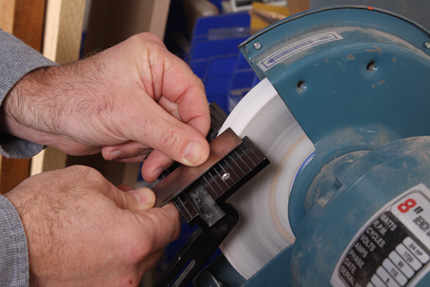
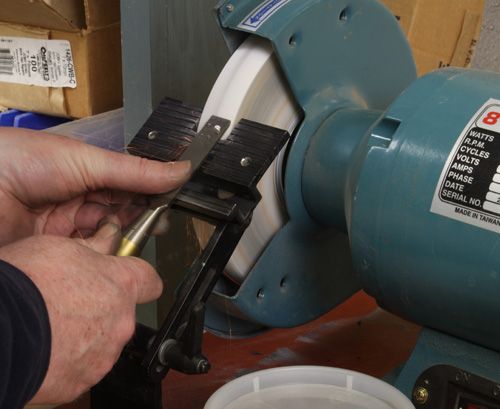
I use an 8-in. grinder on the primary bevel. Keep the blade square to the wheel, and take your time. The machine works fast.
I know plenty of woodworkers who struggle with sharpening. And because of that, I see lots of perfectly good hand tools gathering moss on the shelf. After all, if your tools aren’t sharp, they’re not going to perform well, so machines become “the only way.”
But hand tools will improve your work exponentially. With them, you can incorporate details that could be done only with the kiss of a plane or by careful paring with a chisel. They’re also the ideal helper for machine-cut joinery, allowing you to dial in the fit with perfection.
I tell these guys who are struggling that sharpening isn’t hard. It’s just a matter of finding a system, and sticking with it. Once you have a basic system of sharpening that works, you no longer will sweat it, or dread the process, because it will become second-nature.
And what’s great about having a system is that you can always tweak it-perhaps playing with angles-knowing that if your change doesn’t work you have a solid base to return to.
My system is a mish-mash of various techniques I’ve seen in the magazine and on the road, visiting our authors. Now it’s no bother to sharpen, and my hand-tool skills have taken a huge jump. My system is simple, but it did take lots practice, and I still have room for improvement.
Start by Grinding the Bevel
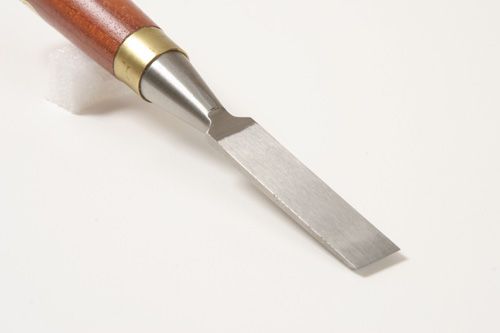
I start by grinding the primary bevel. Grinding an expensive chisel or blade can be scary. I nailed my technique by practicing on a cheap beater chisel, purchased at The Home Depot. If you’re struggling with this job, check out Joel Moskowitz’s article in issue #198 (“Grind Perfect Edges Without Burning“). I got some great tips on setup and technique there. Practice, and you’ll do great.
Next, Flatten the Back
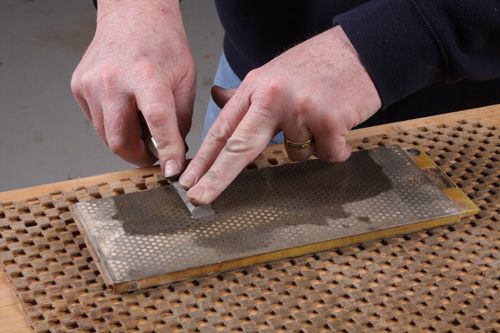
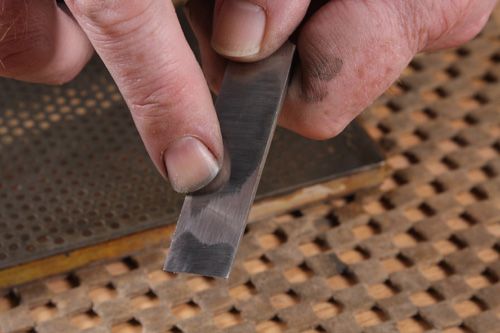
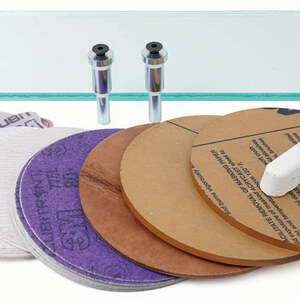
I flatten the back next, working up through various grits. I learned the technique from Chris Gochnour. I use waterstones for the most part, but if I have a particularly stubborn blade back, I’ll use coarser grits on a granite plate. This is the most time-consuming and labor-intensive step. But be patient, do it right, and remember that it only has to be done once. The key with this job is having a flat substrate to work on.
Hone the Secondary Bevel
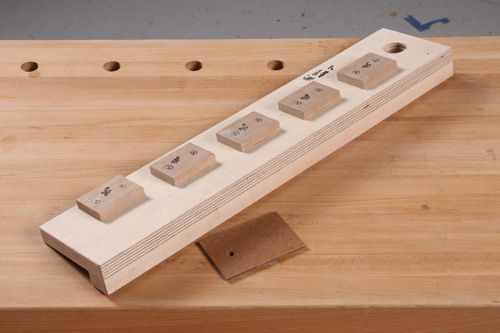
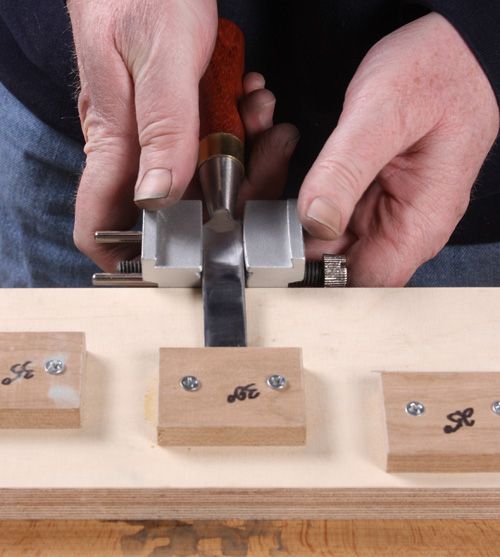
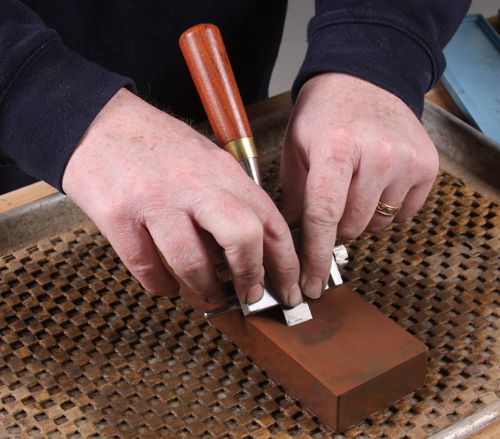
Finally, I sharpen the secondary bevel. I use a basic honing guide that clamps the blade between jaws. To set it up, I use a jig with stops that let me set the blade protrusion at the right distance for common angles. I learned that from an article by Deneb Puchalski in issue #213 (“Get Sharp–Fast“).
De-burr the Back
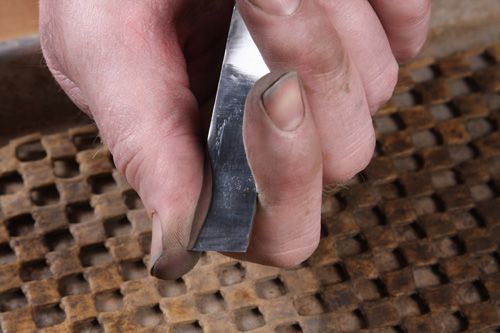
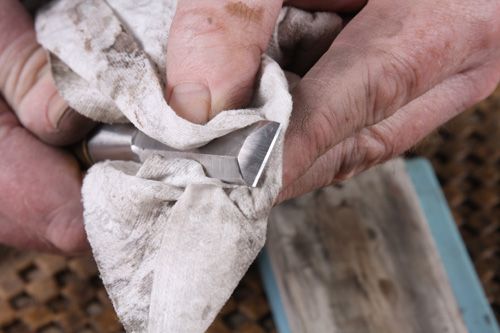
Honing leaves a burr on the back that has to be removed. I do that on the final grit stone. After that, the blade is ready to cut.
Sharpening doesn’t have to be an obstable. Pick a method, practice and perfect it, and get back to making furniture.






Comments
Sir McKenna,
It is funny how I have come full circle when comes to sharpening. For years ago I started out with the honing guide, then I mastered the hollow grind and free hand sharpening, but now on occasion I bring out the same system you are using and it is AMAZING....
It is especially good when using the 45 degree setting for the beveled up planes. I have never cut figured so clean in my life.
Cheers,
Fred
Thanks Fred. Happy Woodworking!
You know, for me being a new woodworker. I have no idea what angels are used on what. The jig that you used would be great. I would love to no how to set one up. This article and one on the jig you made is what I would like to see more of. One other thing ,and most will laugh, when people are talking about different planes, block, low angle, and so on. I have no idea what each of them are for. And a article on That would help me out as well. Last year I think ,and I could be wrong, a article on glue ups. So instead of the same articles. what about a spot for the new woodworker. Things that some take for granted, would be very helpful to others, and seeing a spot on Fine Woodworking like that would make me never leave. Thanks for the article Tom.
I have used this same system for several years and have seen great improvement in my hand tool skills as a result. There are two issues though that this does not address. How to sharpen short plane irons, such as from a block plane that will not extend far enough out of the jig to correctly set the angle? And how to add camber to a plane blade with this system? I would love to get an answe.
Great article Tom. I'm kind of like FIMWDWKR. I've come full circle. I started with sand paper and a Veritas MkII then learned how to hollow grind on an electric (dry) grinder. I followed by freehand honing and polishing on Arkansas stones following that with a two sided paddle strop. I'm now back to grinding, honing and polishing with the guide and the sand paper/honing films. I like the edge I get a lot better. For my day to day primary bevel grinding I use a P220 grit (approx 68 mu) C weight paper. I follow that with P400 (approx 35 mu). I then reset the guide for a micro bevel 5 deg greater than the primary bevel. I cut the micro bevel with a 15 mu honing film followed by 5 mu and 0.3 mu film for polishing. I get razor sharp edges that last a long time. I have never drawn the temper of the steel and I don't have the mess of the oil or water stones. However, the micron graded honing films run 3 to 5 cents per sq in. One set of the micron grade honing films (12 strips of each grade 2 3/4 x 14) is the price of a soft Arkansas stone. The economics is something you have to decide for yourself.
This post is for scotian.
Re camber; With the $10 - 15 guide it is a piece of cake. The narrow wheel on those guides causes the guide and the blade to wobble which makes it easy to shift your pressure on the cutting edge in order to get the camber. With a more expensive guide like the Veritas Mk II it is best to buy the cambered (oblong) wheel as an accessory and keep the straight wheel for straight edges. At his point you'll have given Veritas about $80 or $90 of your hard earned money.
To get the camber on your blade grind your primary bevel and then set your honing guide 5 degrees greater than the primary bevel. Next, divide the cutting edge into five different stations, Station 1 is all the way in the left hand corner. Station 2 is 1/2 the distance between station 1 and dead center of the blade. Station 3 is dead center. Station 4 is 1/2 way between dead center and the right hand corner. Station five is all the way in the right hand corner.
Now to hone and polish that cambered micro bevel: Use your 15 mu honing film, 4000 grit water stone or soft Arkansas stone. Begin at station 1 and put ALL of your finger pressure there and no where else. Pull the blade and guide back for 12 strokes. Now go to station 5. Once again; ALL your finger pressure there and pull back for 12 strokes. Next comes station 2. Same finger pressure as stations 1 and 5 BUT only 6 strokes. Now station 4 and repeat what you did at station 2. Finally comes station 3. Once again, ALL your finger pressure here and here only for 3 or four strokes. Check your camber by placing the straight and flat edge of a block of wood on top of the blade. Hold it up to a strong back light and check your camber. Not enough for you? Go back to the medium grit for a few more strokes at each station. Too much camber? Go to your polishing media and polish as I described the honing above EXCEPT cut down on the number of strokes at stations 1,2,4 and 5. Add a few to station 3. This will flatten out your camber a little. If you like what you see after the first round of medium grit (honing) media repeat the previous number of strokes on the polishing media.
How much camber? What do you want your blade to do? For final smoothing (No. 4) I have a gap of about 1/32" between the corners and that block of wood. For edge jointing and flattening with a No. 7 or 8 I use about 1/16". Don't get wrapped around the axle about this. As long as you are getting the surface you want without those dreaded plane tracks who cares about the width of that gap?
I hope this helps.
Tom,
Thanks for the process, the system, and the guidance. I had tried to use sharpening stones MANY times, with little consistency, or good success.
Since I've been using the work sharp system, ( yeah, I know it ain't stones) and typically putting a + 5 degree micro bevel on my 25 degree chisels, my results have been quite usable for all the bench, dovetail, and mortising work I've needed to do so far.
The process consists of sharpening the chisel to 1200 grit, then doing a micro bevel from 1200 to 2000 grit, with an occasional honing using the 3600 grit. Then I touch up the hone if the occasion demands it. All this done on middle of the road chisels.
All this said, I do find myself using more and more hand tools!
Nice article, I have found having the right sharpening tools for the job is key. Its been a long haul from old grey grinding wheels, guesswork ground angles and combination oilstones, and an old eclipse honing guide.
There are a lot more wheels, jigs and stones and guides out there today which is all good in my book.
Sorry about the blank! I just wanted to say to folk who may be new to sharpening that it's worth being aware that there are some things that are a one step fix, like the jig to set your blade in the honing guide. This will immediately give you consistency each time you sharpen a blade and that's important. But there are other things that are not an immediate fix. For example, finger pressure on the blade as you move it over the stone or diamond etc. It can take quite bit of practice and at first can seem difficult to get good results. Don't be disheartened just keep practicing and you'll get here.
Sharpening is absolutely key to any woodwork. If you are in a hurry - stop and sharpen your tools!
Log in or create an account to post a comment.
Sign up Log in