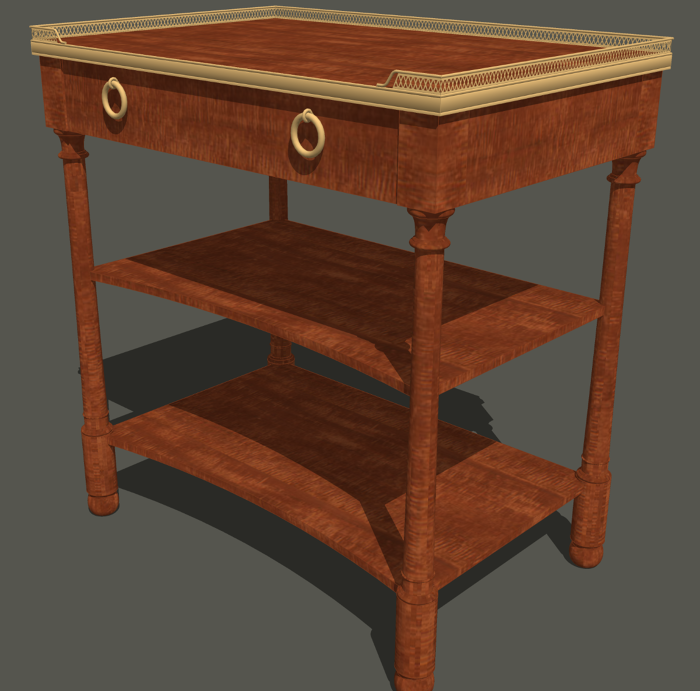
Perforated metal as a texture.
Sometimes the models I draw have repeated details that can be very tedious to draw. Unless I need to show that detail up close, I will consider using a texture material instead. In a blog post I made back in February I showed doing that with an image I found online. I can’t always find images to suit my needs. In those cases I make the texture image from scratch starting in SketchUp. Here’s an example where I did just that.
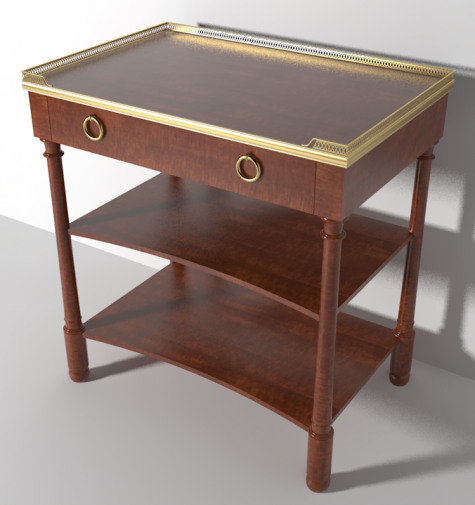
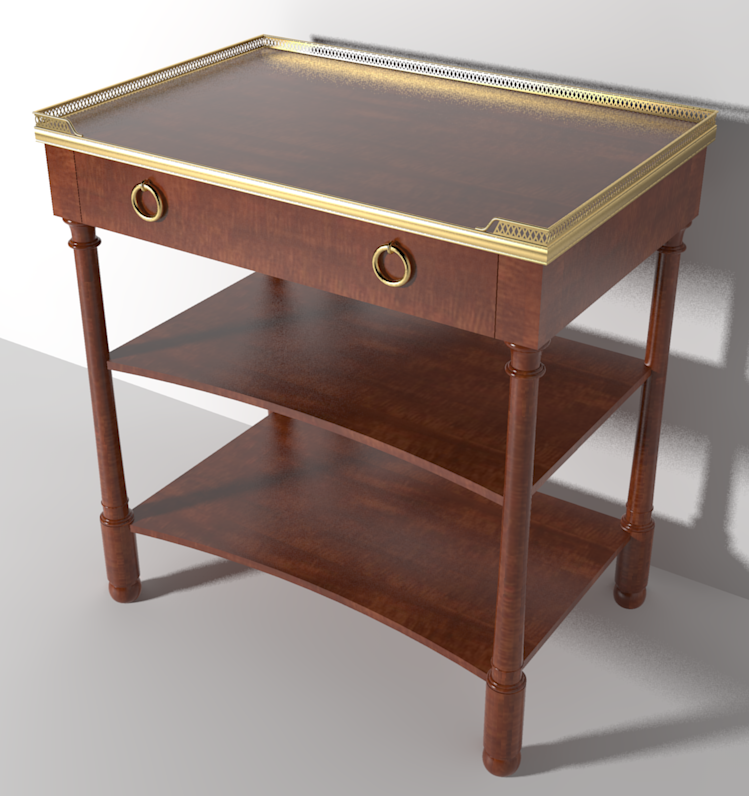
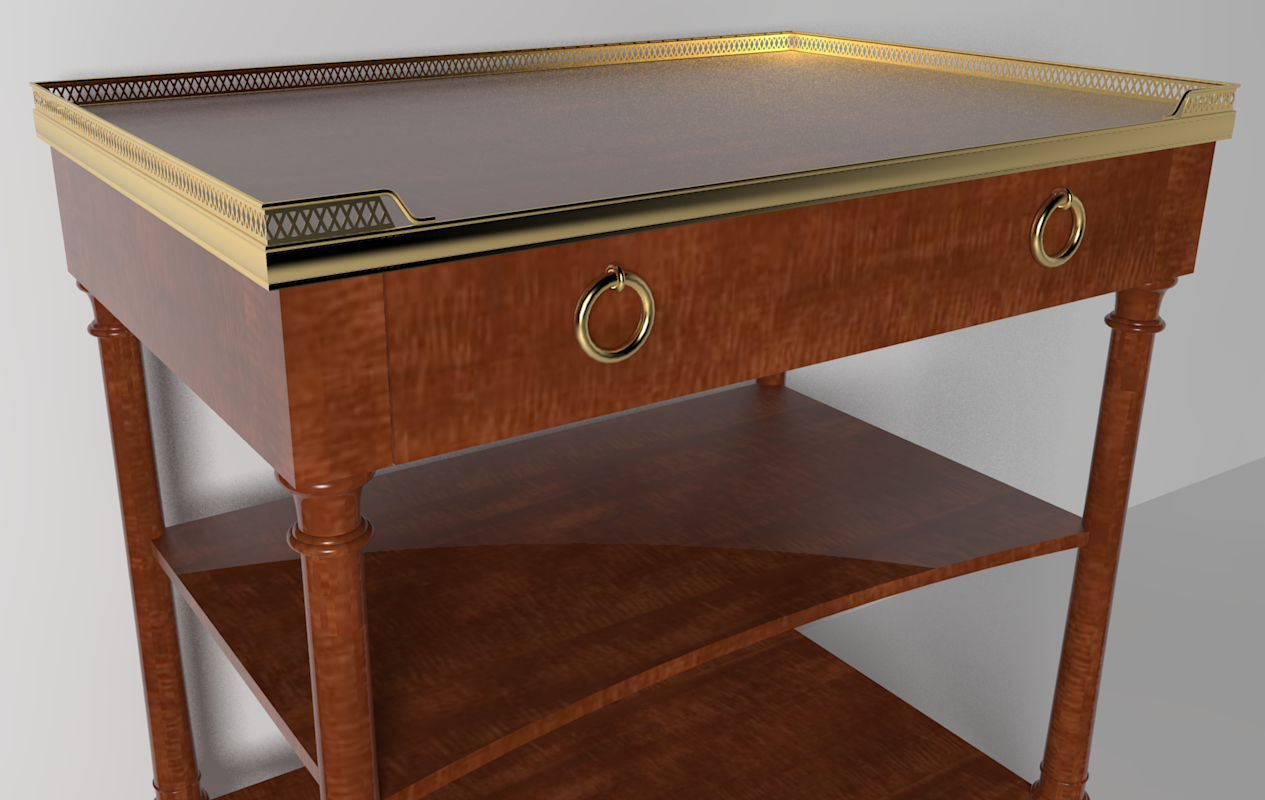
This Empire-style table is based on one made in France around 1890. It has a brass gallery surounding the top. Since the diamond grid is a repeating pattern, it is a good candidate for a material. I drew a one-inch-long section of the perforated metal and made an imaged export of it. For this export, I edited the style temporarily and turned off the edges.

The next step is done in an image editor. I used Paint.net which is available free or you can use Gimp or Photoshop or whatever. I cropped the image tightly to the pattern, selected the white areas and made them transparent. Then I saved that image as a PNG file. JPGs don’t support transparency so don’t use that file type.

Now back to SketchUp. I drew the surfaces where the perforated matal is to be.
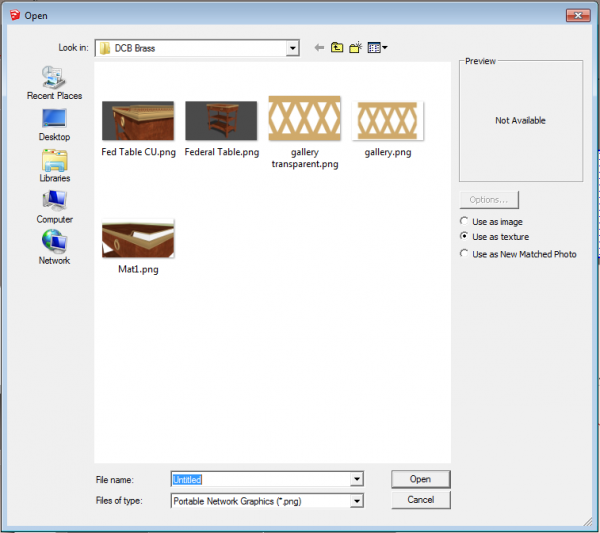
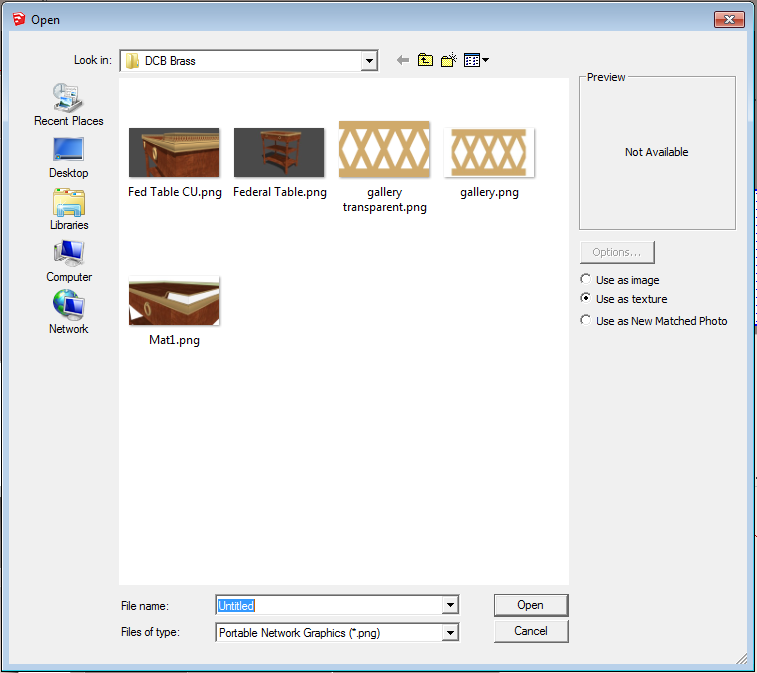
Then I imported the edited image of the metal making sure I selected ‘Use as texture’ before hitting ‘Open’.
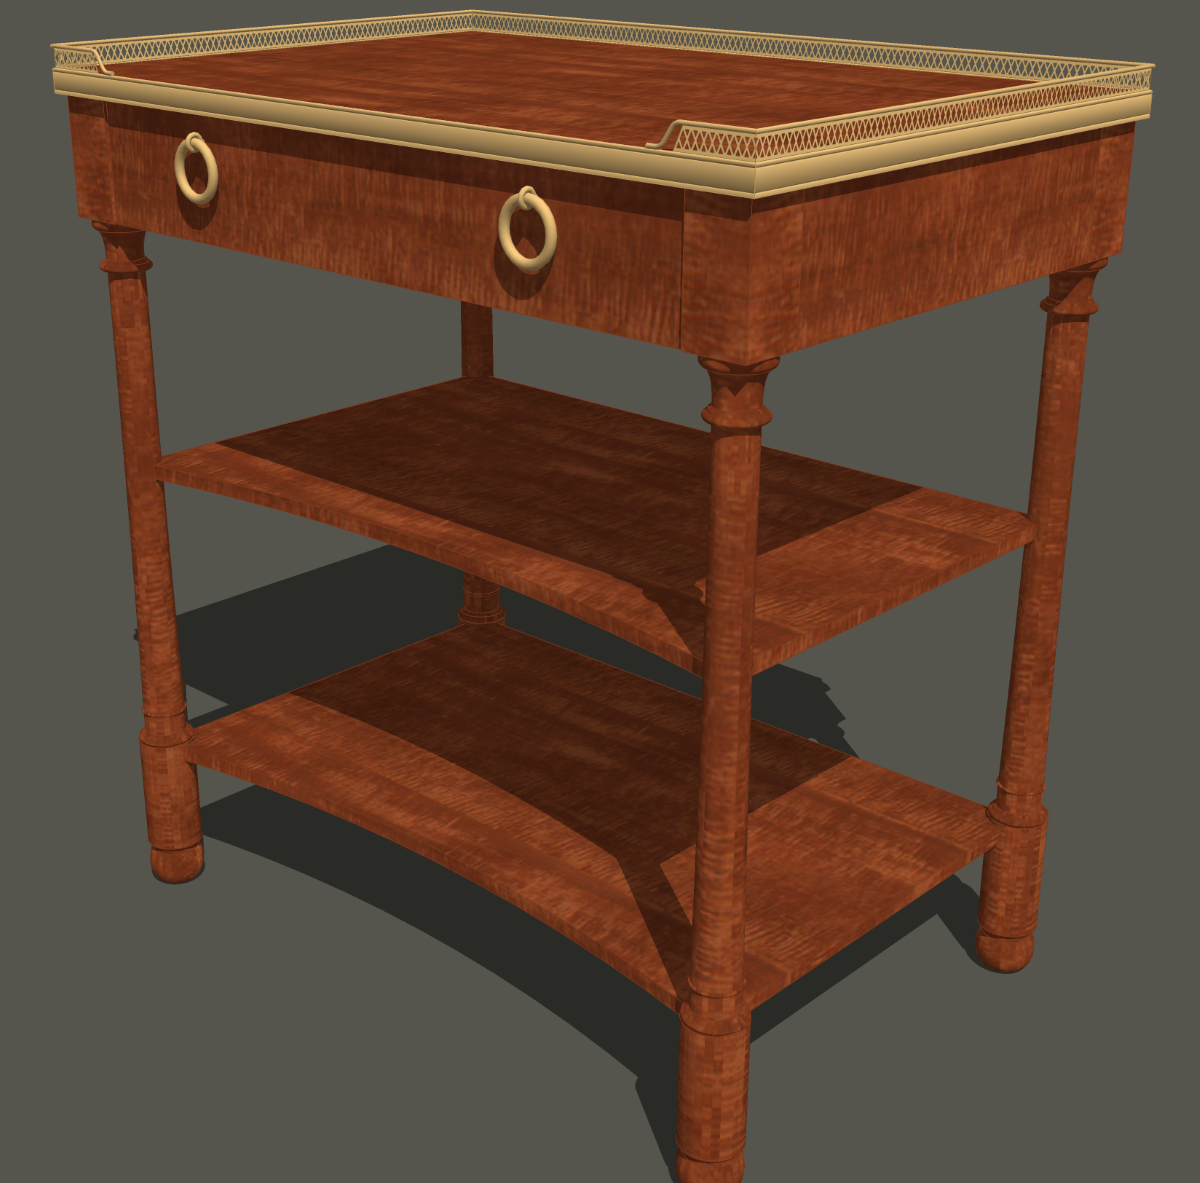
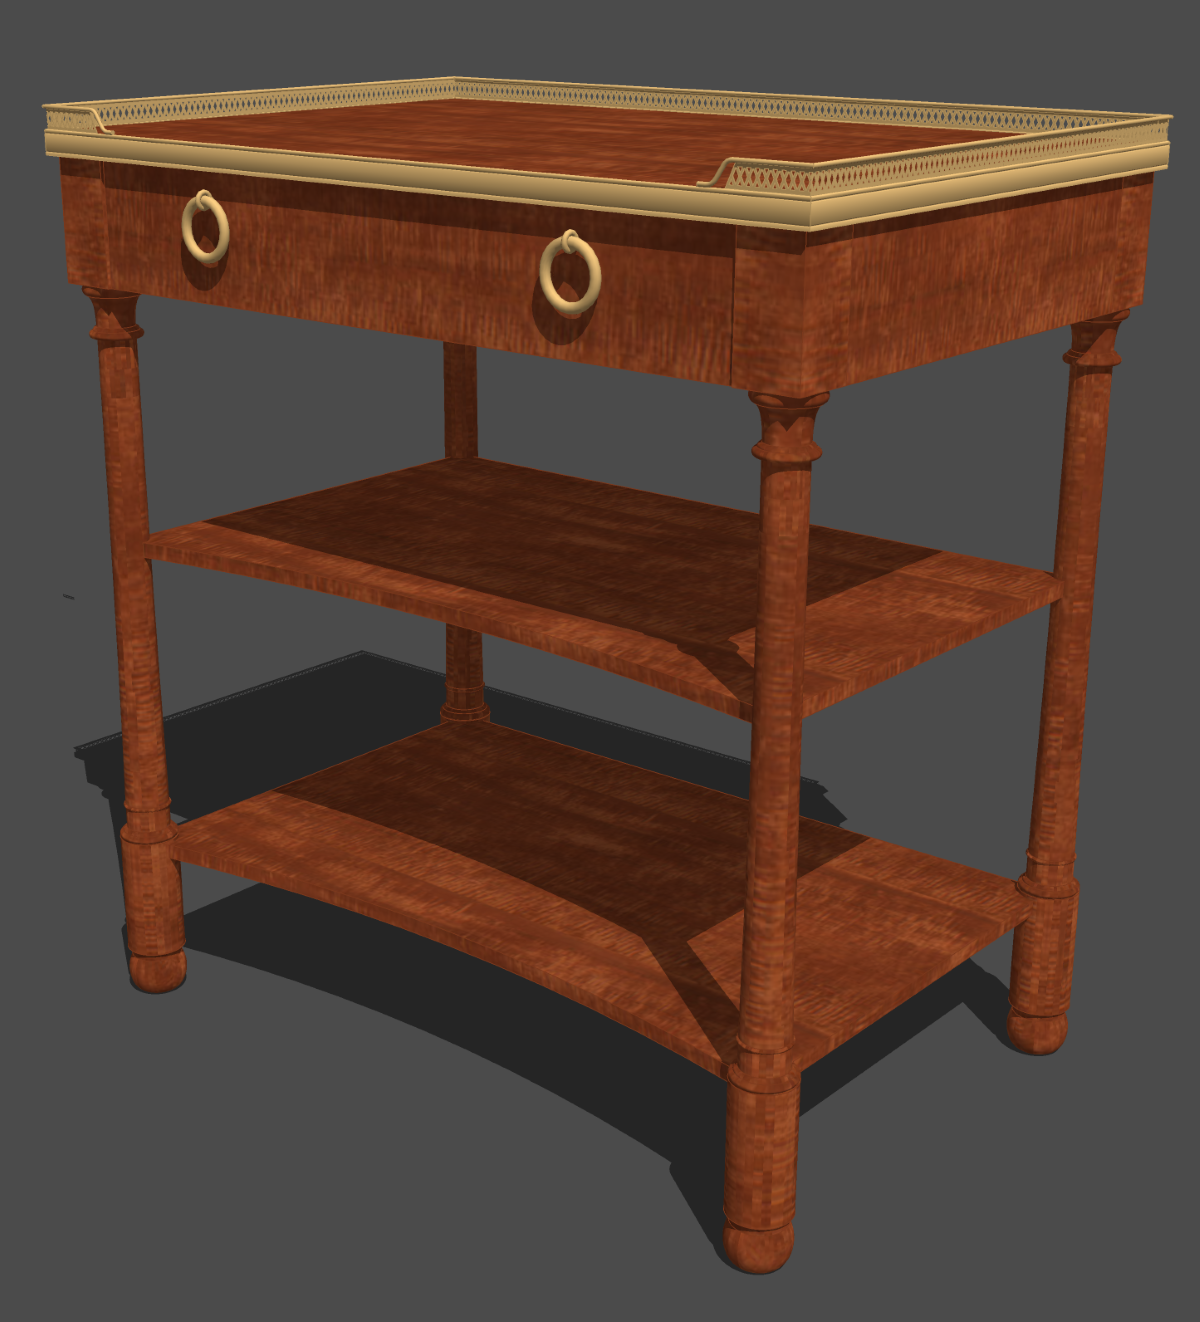
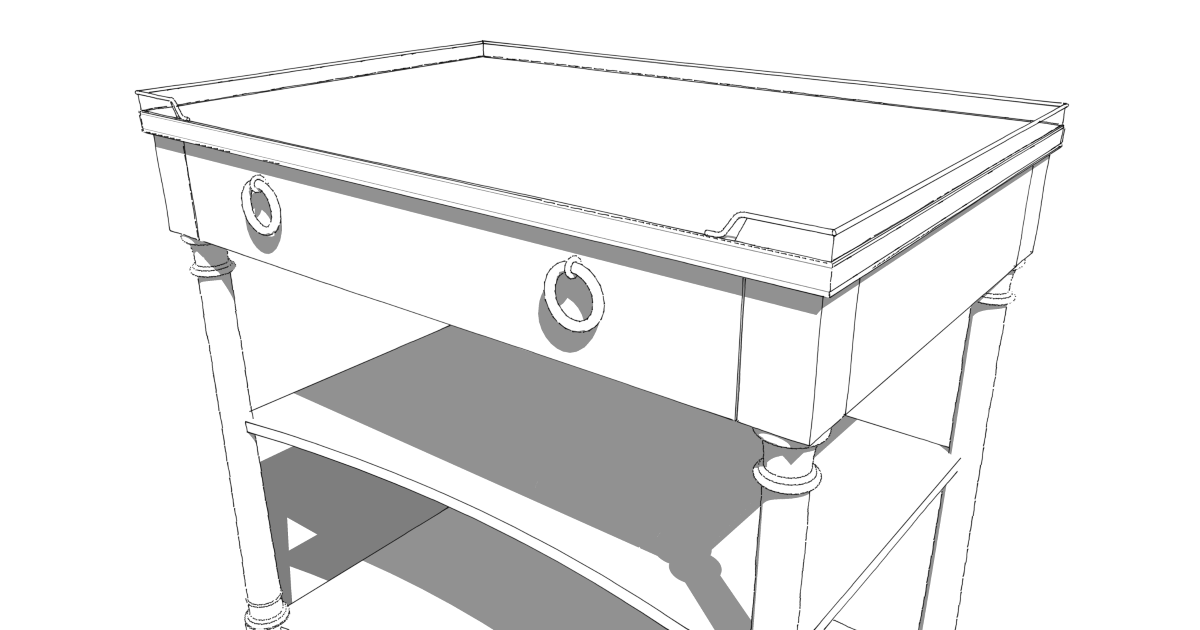
I applied the image to one of the faces starting at bottom corner and dragging up to the top edge. This automatically sets the size of the image correctly. Once the texture was applied to the single face, I selected all of the faces, got the Paint Brush tool, and applied the material to the selection. Here is the result when viewing the overall model. It’s not easy to tell the perforated metal isn’t actually 3D.
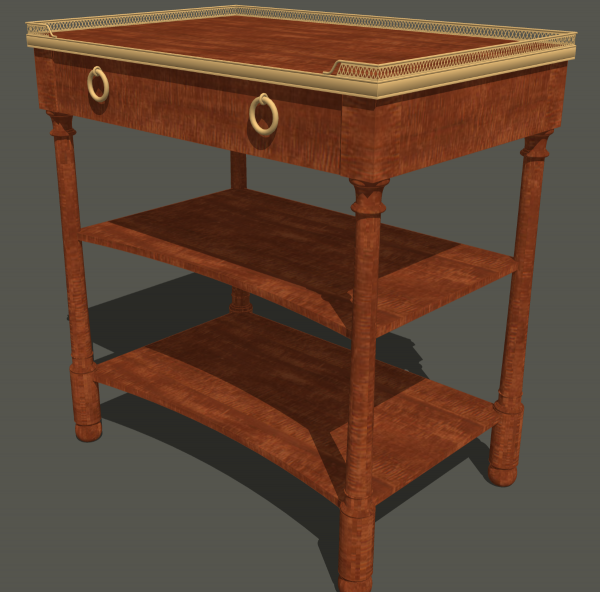
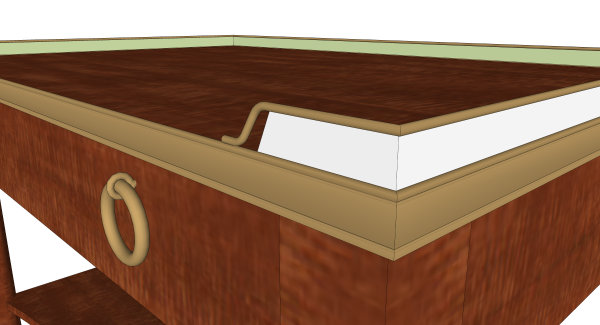
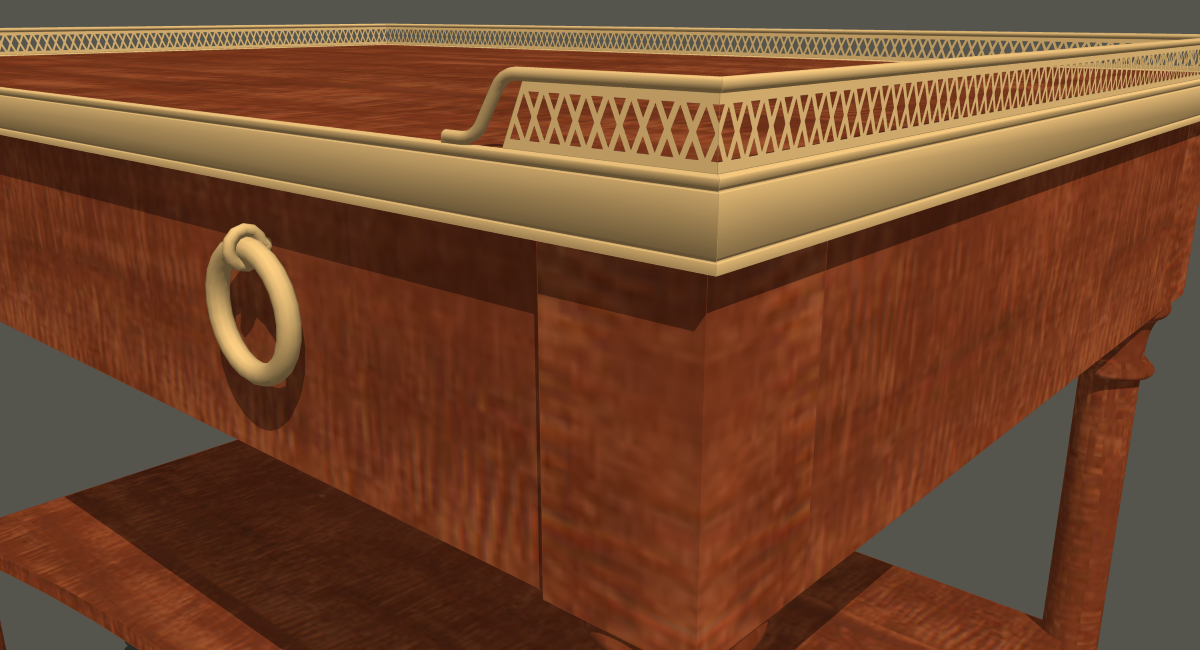
In a close up view you can tell but it might still pass muster for most folks.
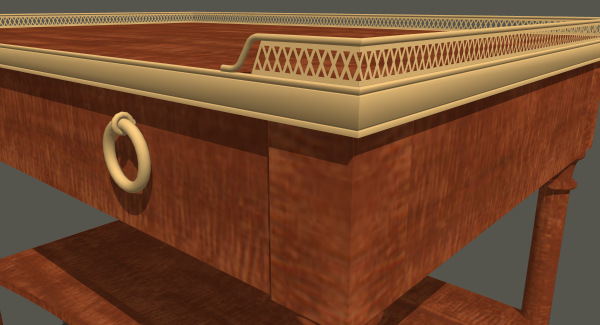
This took musch less time to do than to write about. Although the perforated metal is a major detail in the model, it’s so small, it doesn’t really warrant a huge investment in time or file size. Well, that’s true, anyway, if you are going to just use the images straight out of SketchUp. If you want to create rendered images or even simple line drawings. The texture doesn’t quite cut it.
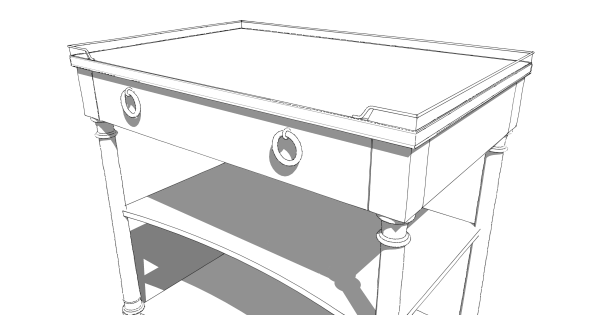
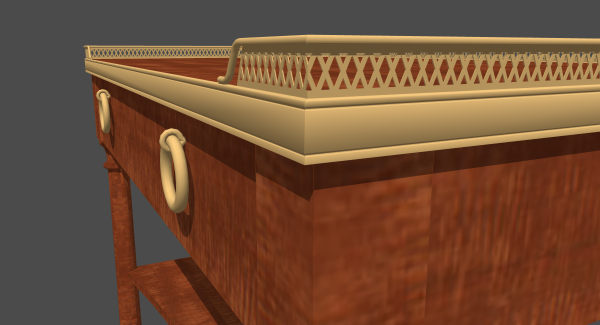
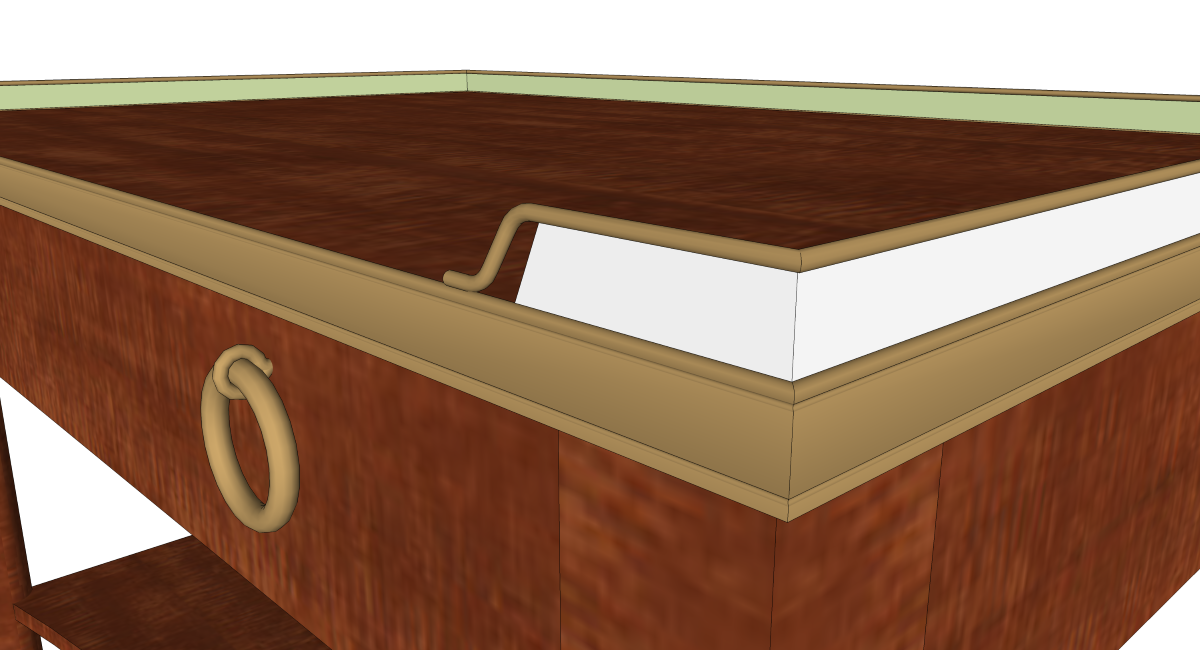
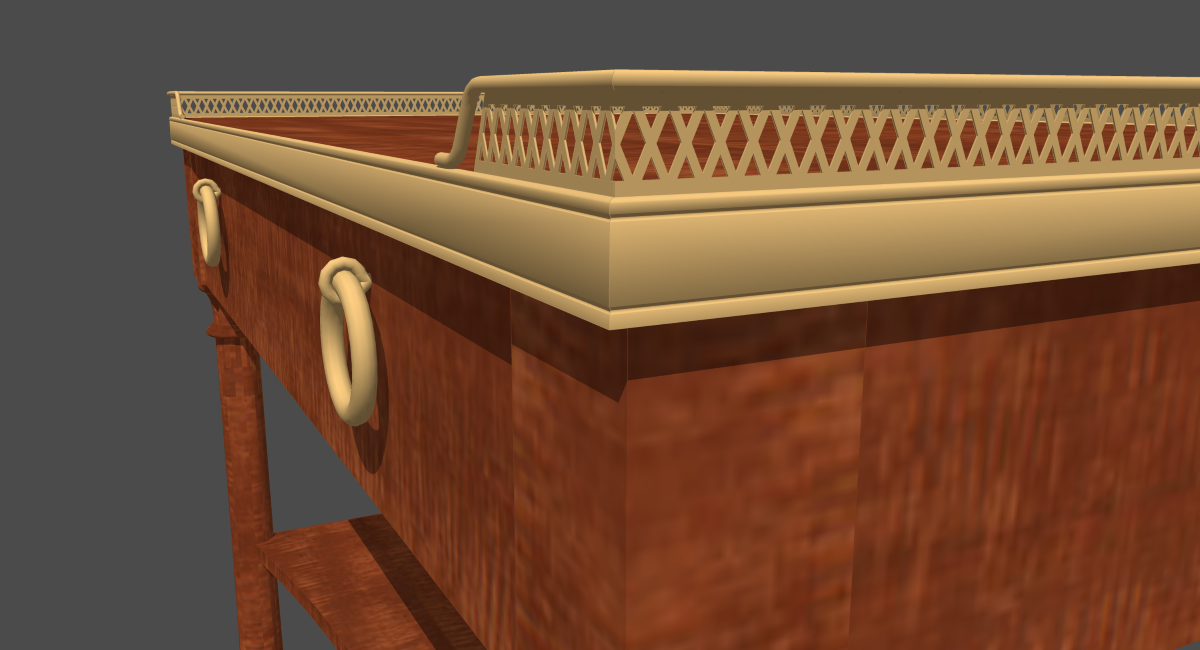
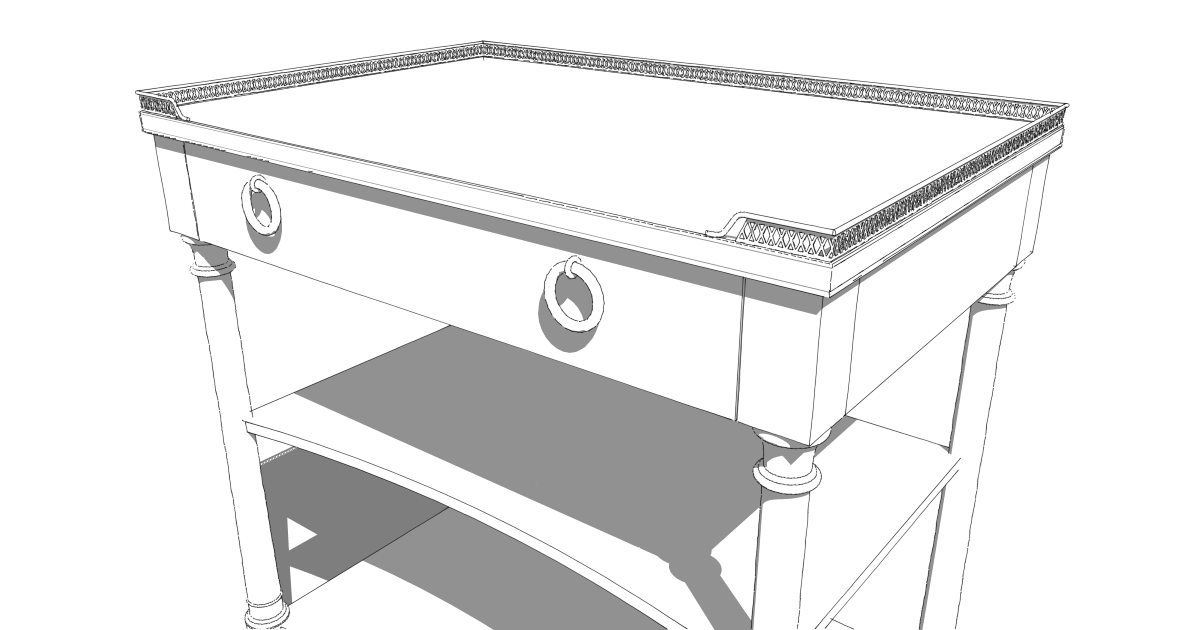
In that case, you have to bite the bullet and make the geometry. I used the same diamonds I drew for the texture but gave them a little thickness. I made a component which I could then copy around the edges as needed. The components at the ends and the corners had to be edited to cut them off. Make sure to use Make Unique on them of you’ll edit all of them. I also hid the edges at the seams between sections. Here’s the table as above but with the perforated brass as geometry.
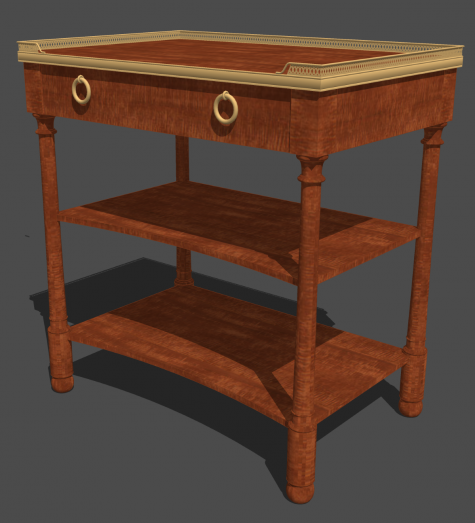
In a close up view, it becomes a little more obvious. I think you have to look close to tell, though.
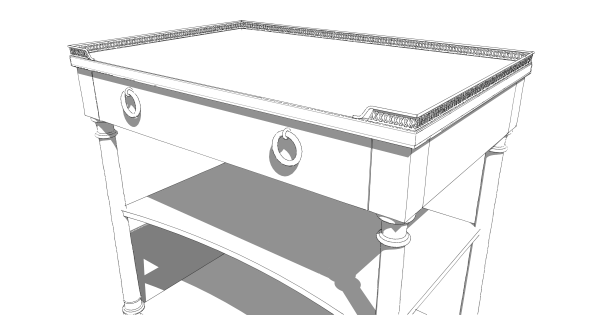
And as a line drawing, there’s a huge difference.
This same idea of using a texture image instead of geometry might be useful for things such as beadboard or embossed moldings. You also could use this idea to create a texture for plywood edges if you want to show them. I expect you can think up other ways to use this idea, too.
Whether you make a texture as a substitution for geometry or you use a component, make sure to save the result so you can use it in possible future projects.
–Dave





Log in or create an account to post a comment.
Sign up Log in