Tips and Tricks For Getting A Sheen From an Oil Finish
Get a sheen from oil without sacrificing its pleasant feel.
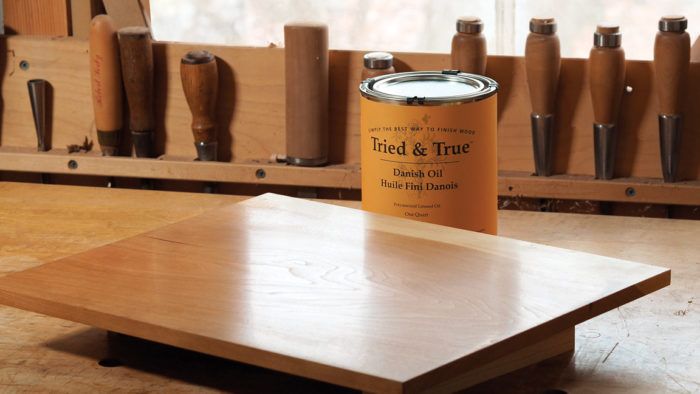
Synopsis: Oil finishes are popular for surfaces that people are going to touch, because they simply are more pleasant to touch than film finishes. But until Adam Godet discovered the right way to apply an oil finish, he was getting lackluster results. He soon discovered the secret to getting an oil finish to shine can be summed up in three words: sand, sand, sand.
The first time I used an oil finish, I was disappointed that it lacked the attractive sheen of a film finish. The pieces generally had little to no luster and looked amateurish. Buffing improved things, but only temporarily. With some experimentation, however, I discovered that getting a beautiful sheen with an oil finish is a snap with some extra sanding steps. I typically use Tried & True Danish Oil, an all-natural linseed oil with no solvents or metallic dryers. It’s a straightforward, easy finish that maintains the feel of wood and won’t harm your health. But my sanding process can be used with any oil finish.
Why an oil finish? The main reason I prefer oil finishes to film ones is simply that they are more pleasant to touch. When your hand feels the object, you feel the wood. Because of this, I especially like this finish for pieces that people touch often.
The other reasons are more practical. The first is ease of application. Film finishes require a dust-free environment, so if you don’t have a separate finishing area, you have to carefully vacuum surfaces and keep dust down in your shop as the finish is drying and curing. Because Danish oil is a penetrating finish rather than a film, any dust that lands on your project during finishing can be wiped away.
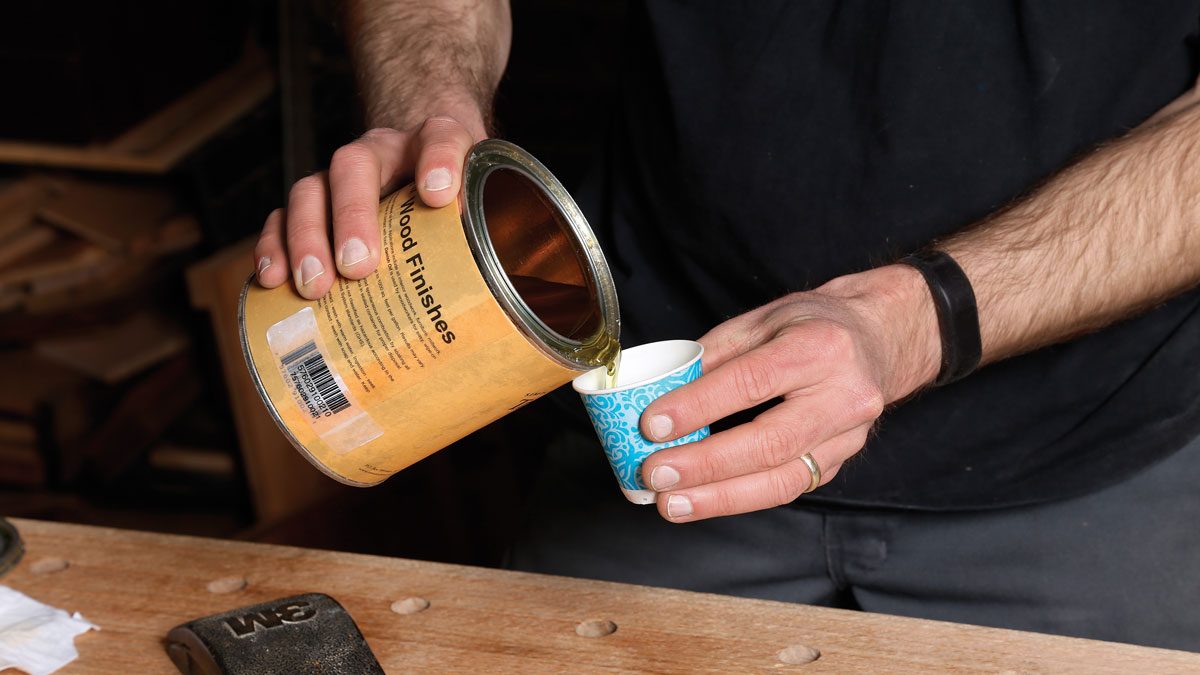
The absence (or low volume, depending on the oil) of volatile organic compounds (VOCs) and solvents is another benefit. Plus, low/no-VOC Danish oils without solvents have very little odor.
Finally, there’s repairability. Film finishes can become chipped, scratched, or otherwise damaged, and can be a pain to fix. Oil finishes are less durable—one of their weaknesses—but a scratch or chip on a piece of furniture with an oil finish is on the wood itself, meaning you can more easily sand, scrape, or otherwise address the area and then reapply the oil. Also, small water spots can be buffed and sanded out.
If the piece will see a lot of use, consider adding dewaxed shellac over the oil. I did this on my dining table a couple of years ago, and the top still looks great. Shellac is a film finish, but it shares the environmentally friendly aspects of Danish oil. Similarly, a light coat of beeswax provides a thin layer of protection, and it can make cleaning the piece a little easier.
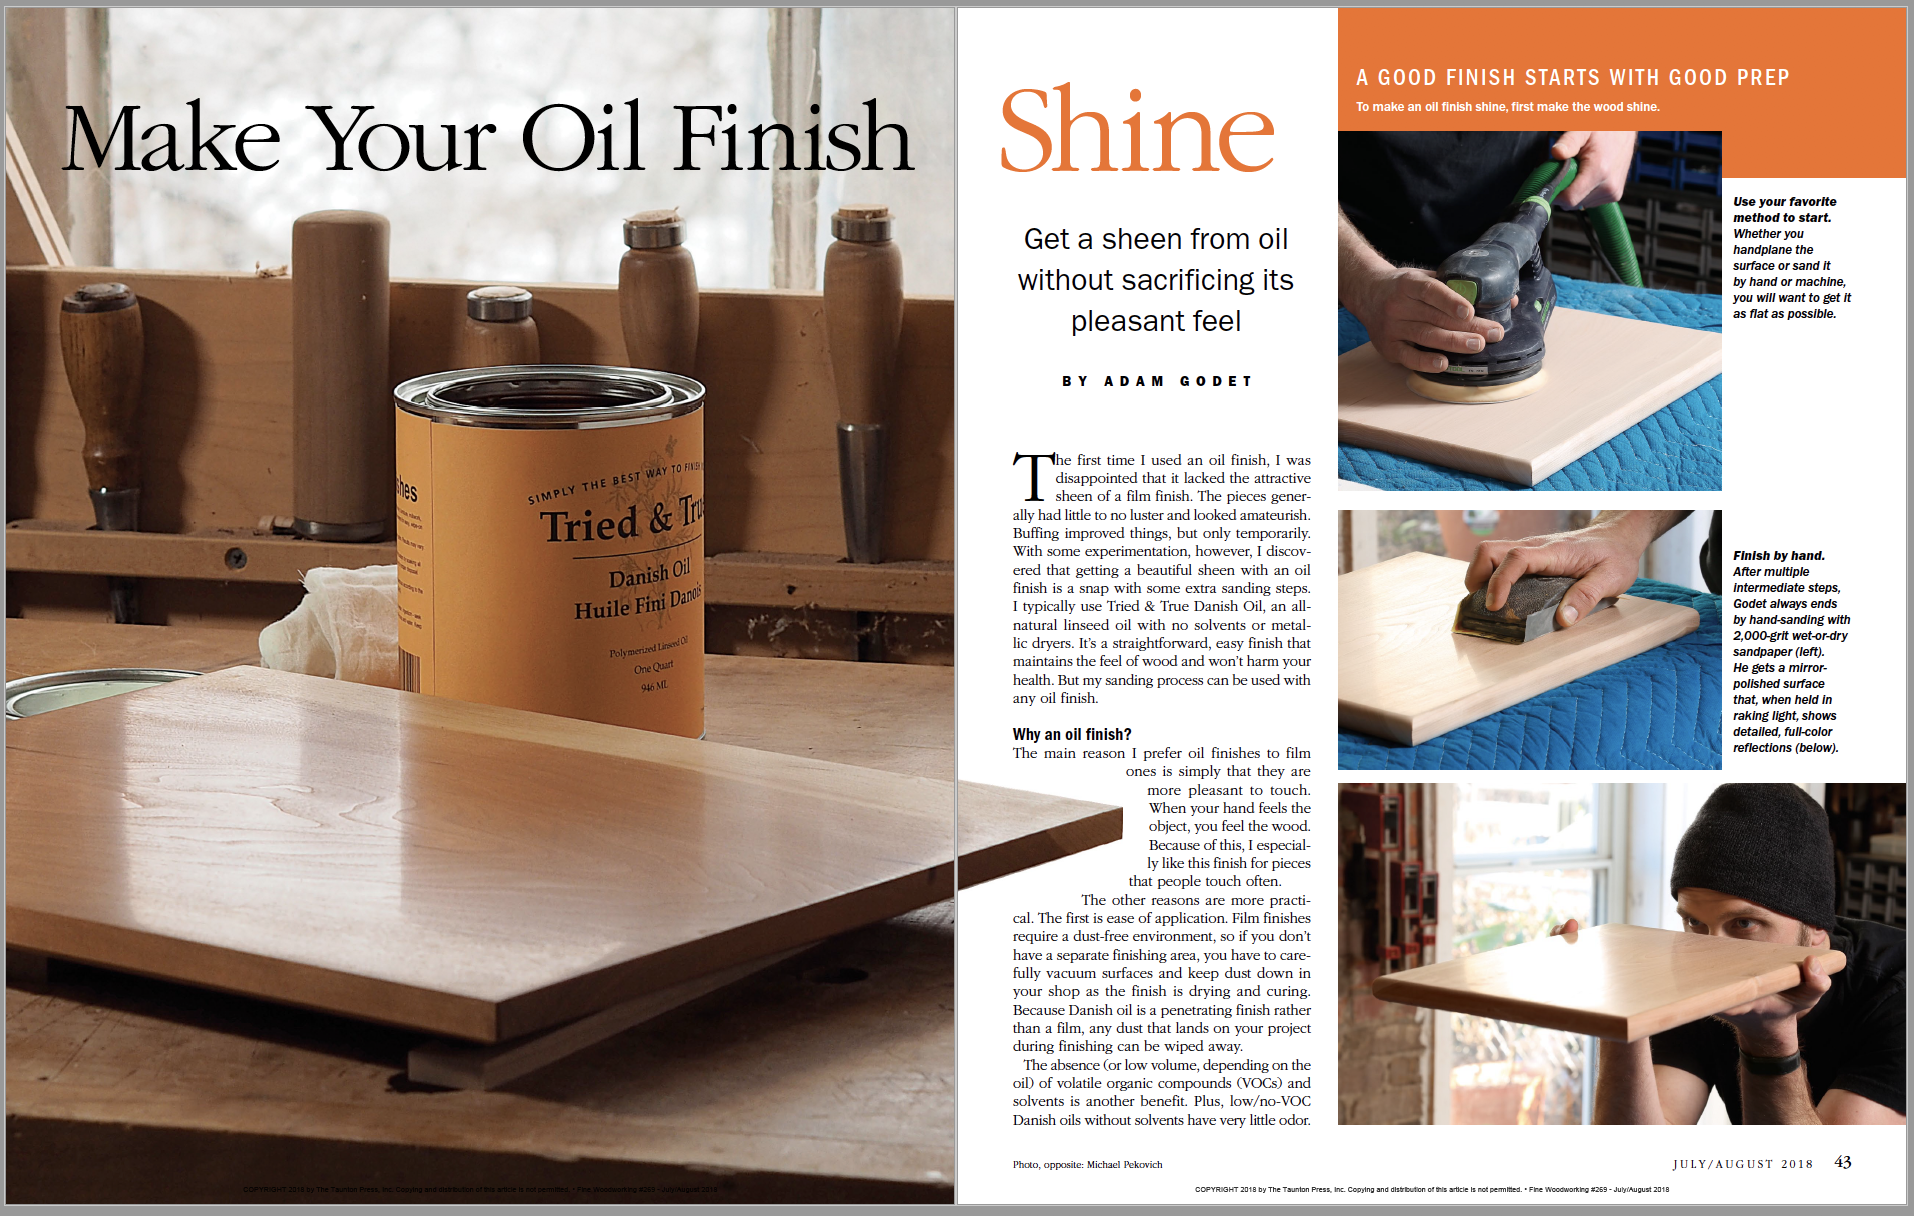 For the full article, download the PDF below.
More on FineWoodworking.com:
- Why Finish Wood? – It may be a chore, but there are good reasons to apply a finish
- Finish Recipe: Shaker Chest of Drawers – Traditional oil-and-varnish finish is repairable and easy
- Which Waxes Work Best? – A close look at price, performance, appearance, and smell
Fine Woodworking Recommended Products
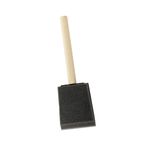
Foam Brushes
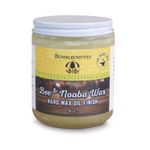
Bumblechutes Bee’Nooba Wax


Log in or create an account to post a comment.
Sign up Log in