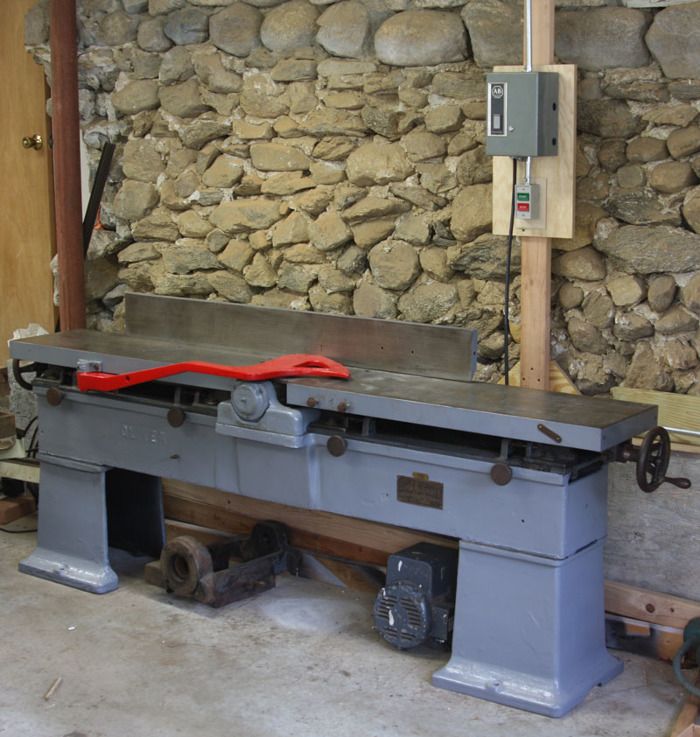
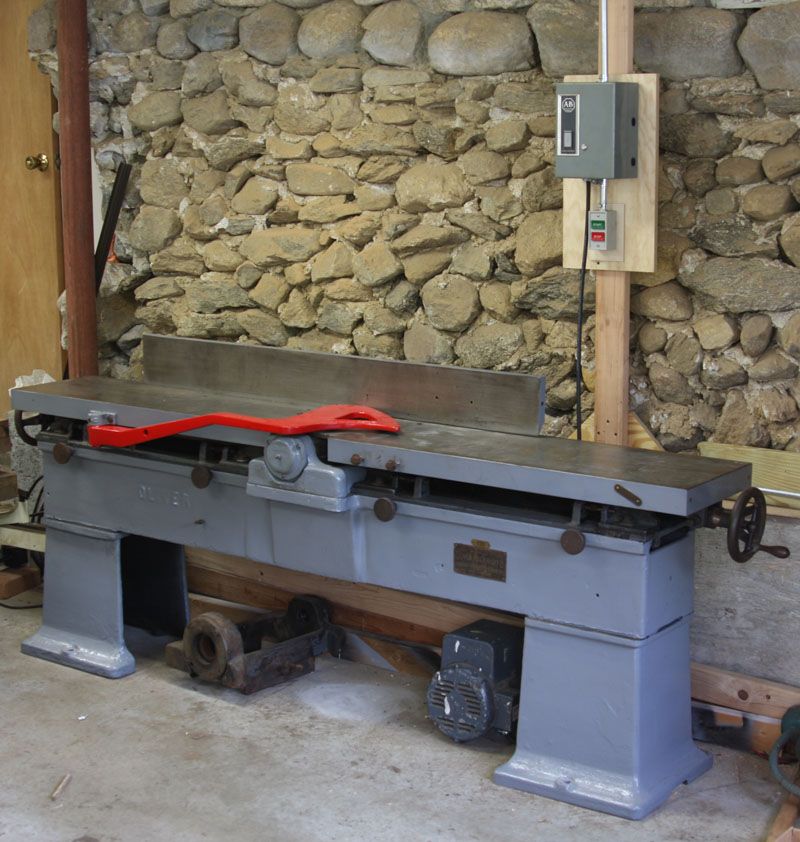
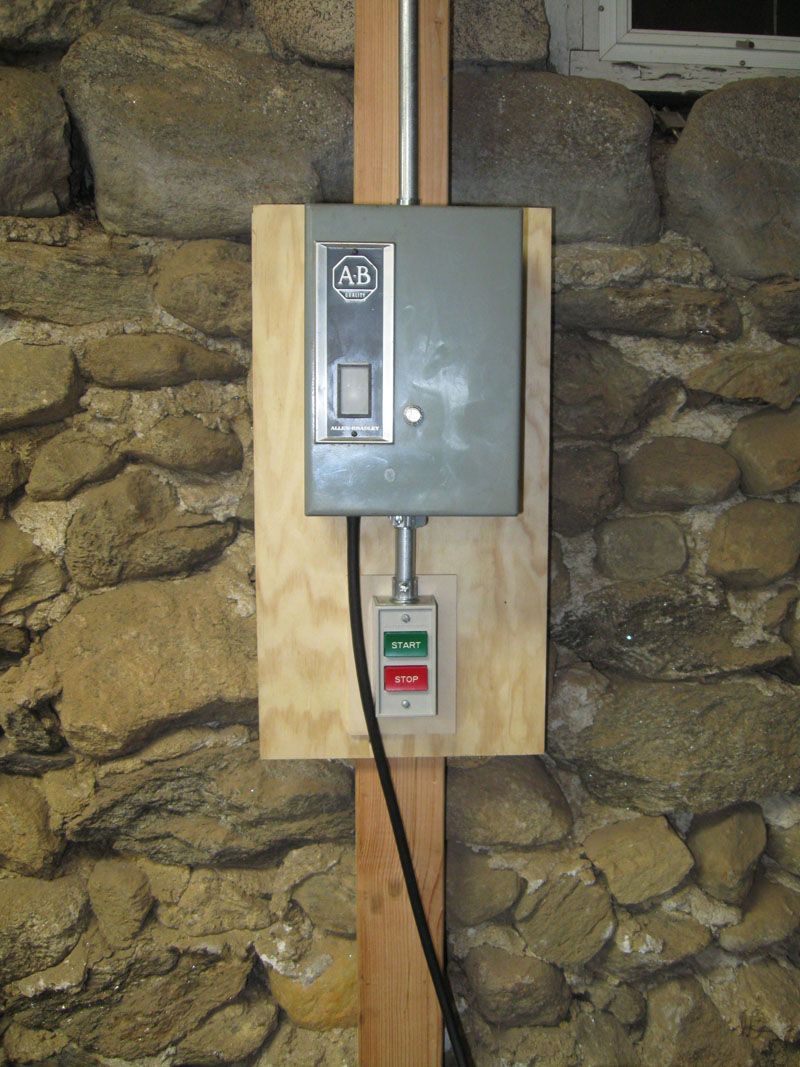
Almost ready to go. Painted, wired up, and sitting idle. It kills me that I can't use the jointer yet, but I've still go another Saturday's worth of work to do. Namely, make a dust collection box and mount the motor.
I could be wrong, but I doubt any woodworker has every wished he or she had a smaller jointer. I know I never have. My first jointer, which I still have an use, was a 1959 6 in. Delta. It’s a great machine, but the beds are very short and I often find myself wanting to joint boards 8 in. wide and wider. So, I pined for a bigger jointer.
In fact, I wanted to skip the 8 in. models and go straight to a 12 in. jointer. I began to look around for one. I quickly eliminated almost every new 12 in. from consideration, because, to be honest, I already have one mortgage. I don’t need another to pay for a piece of woodworking machinery. The 12 in. jointers that were in my price range didn’t appeal to me. So, I began to reluctanly look at 8 in. jointers. Again, to get what I wanted (parallelogram beds and big weight), the price just got too high.
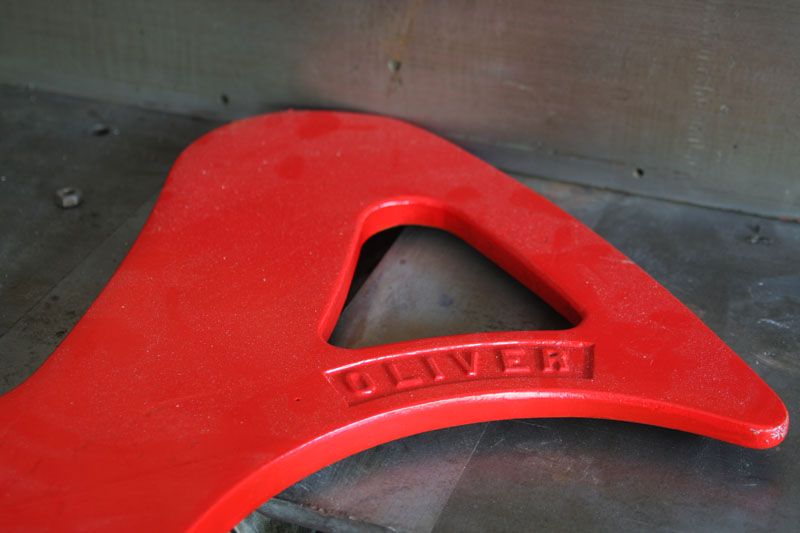
I was despondent. But then I visited frequent FWW author Chris Gochnour, and saw his recently restored 16 in. Oliver 166 jointer. That reminded me of one I had seen years before, in the shop of another author, Tony O’Malley. And I remembered that I love old iron. (Check out my tablesaw and it’s fence.) And I really love the Oliver 166 jointer. I had only seen 16 in. models, but headed over to the Vintage Machinery website, and soon discovered that Oliver made this model in several sizes, from 8 in. all the way up to 30 in. That was that. I began to look for a 12 in. Oliver 166. And I found one (pretty quickly, too)! It’s from about 1918, but is in great shape. I’ve been working to get it up and running. I’m nearly there–just need to make a dust collection box and mount the motor.
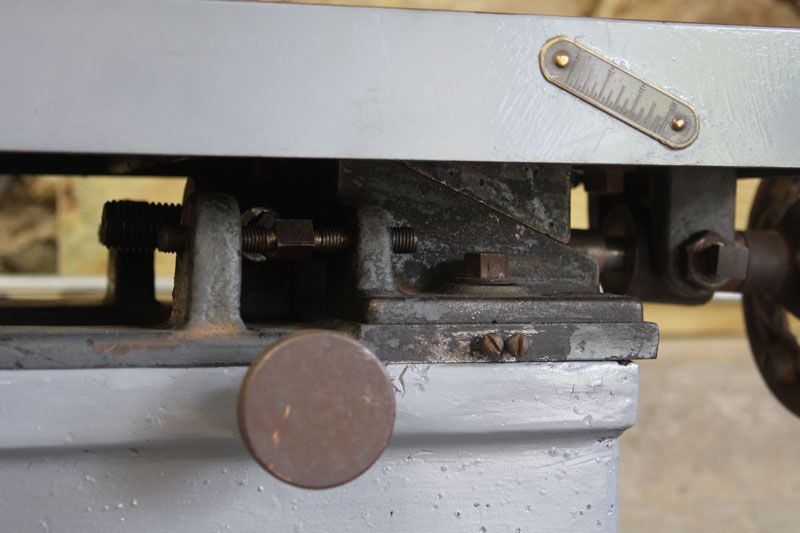
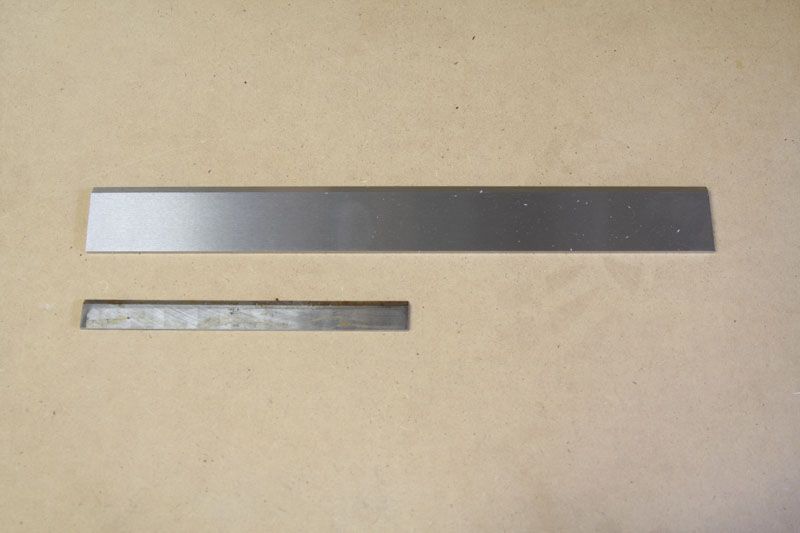
So did I get what I was looking for in a jointer? Yes. This fellow weighs at least 1500 lb. It’s 8 ft. long. The beds can be adjusted with a system that works similar to a parallelogram bed (see photos above for more on this). And all of that for less than $1000. I’ve spent a few hundred more on a new (used) motor, paint, random parts, and knives, but I’m still around the price of some lower-priced 8 in. jointers.
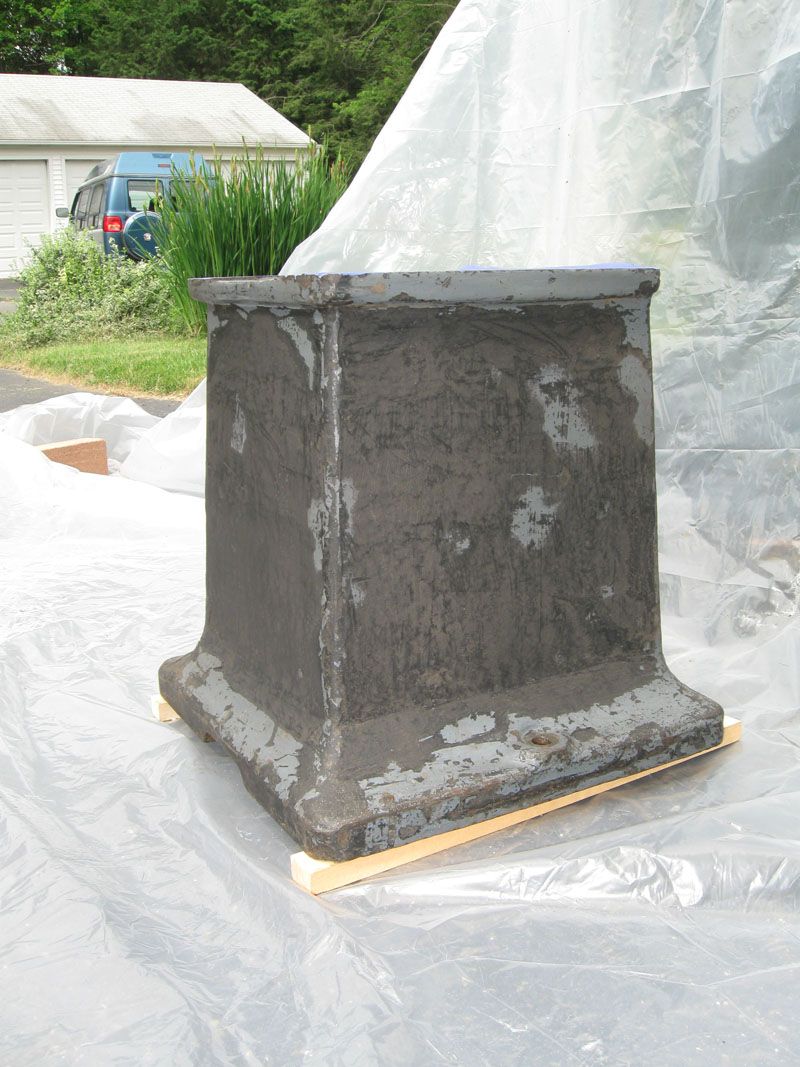
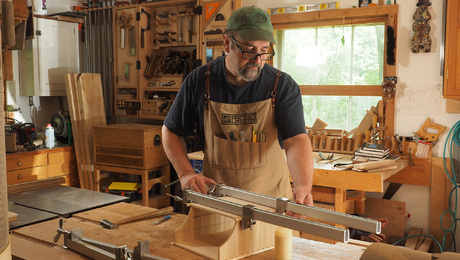
Check out the photos above for some details. Also, I’ll write another post shortly with some advice for those of you who might want to buy some old iron of your own.




Comments
Very nice. One thing though, the battleship gray. Yeah, every piece of equipment in my shop is also battleship gray and it kind of is a bit boring. I am beginning to think of painting each piece a different, crazy, color. Purples, lime greens, oranges, violent hues, patterns, etc. I may have to do that this year yet.
I have 9 different enamel colors that I am painting my shop-made oak "tool stands" but may now paint the tools themselves.....kind of a Mix and Match deal to break up the Navy in my shipyard of a shop! Craftsman tried a gold color 50 scheme years ago but eventually went back to gray. Let's try again!
John in Pensacola
An awesome piece of machinery, brings back mixed memories for me. I apprenticed on one of these in my twenties...some 40 years ago now, it also took the tip of my index finger so watch out! I find that your switch is much too far away, one improvement modern machinery has made is the big paddle style switches usually placed near where the operator's hands are when working. Enjoy!
Could not agree more Matt. As a fledgling woodworking, upgrading my jointer was a priority also. Just swapped out my 6" craftsman for an 8" Dayton that needed minor refurb. Bigger, better and makes lots of stuff easier. And the process of fixing it up was easy after doing the same for the 6" jointer. Makes my budget happy!!!
I have a jointer 15" blades for sale all cast iron about 7 foot long in great shape $1500 or best in Michigan Detroit area ready for pick up weighs about 1000# will load for you. 734-637-0277
Loved the story. Two thoughts. I'm intrigued by the stone wall in the photo. What does the rest of your shop look like and where is it? Second, I also have an "old tool" story. When I was starting out some 30 years ago, I worked in a shop that had an old cast iron, 16" Rockwell radial arm saw. This beast could run through 8" stock like butter. When you started it up, it sounded like a jet engine revving up for takeoff. When you turned it off, you had to walk away from it, for safety reasons, since it had no brake and the weight and mass of the 16" blade kept it free-wheeling for a very long time.
Matt good for you, I'm sure you are going to love it. I have an 8" jointer but a couple of years ago I found an old AR Williams 12" jointer paid 400 for it and got it fixed up like new for another 600. This is one heavy monster and does a great job. In wood working size does really matter!!!!
The stone wall is the original foundation for my house. My shop is in the garage, which was added to the house decades after it was built. It's a great wall. The rest of the shop isn't as cool. I wish it were!
Matt
The stone wall is the original foundation for my house. My shop is in the garage, which was added to the house decades after it was built. It's a great wall. The rest of the shop isn't as cool. I wish it were!
Matt
I have been interested in getting some vintage equipment for my shop. How did you go about finding yours? Do you have any suggestions as to what might be a better machine to buy new vs. old?
Fine old tools from the "old days" are great. I have a 6" Delta with 60" bed that I rescued from a manufactured homes builder's junk yard that works beautifully. I rarely use it to flatten a board. I use my thickness planer and 2 pieces of sacrificial wood glued to the edges of the board I want to flatten. Lay the board on the bench and figure how much thicker the sacrificial pieces will have to be to allow enough passes to get a flat surface to use to get to final thickness. I generally have the sacrificial pieces long enough so that any snipe on either end is on these pieces rather than the stock.... I also find this method is one hell of a lot safer than trying to hold a wide board against the table and the fence as well as to try and overcome the natural inclination of the 3 knife cutter head spinning at about 3000 rpm to kick that board out from under my push blocks.... I too, have lost 3/8" off my left thumb to a hungry jointer using it as a planer.... Why use brute force to plane a board down to thickness, or to even flatten one, when there are all sizes of power fed planers?????????
I like it and would like to know how it is working.
G'Day Matt,
I've just had one of those once in a lifetime electronic bay wins, I'm now the owner of a very excellent and quite old dovetail style jointer. It's a 12" model with 15" wide beds and it's a beauty!
I'm in the middle of setting it back up, having removed the rust and old pitch, re-grease all the moving parts and other cosmetic type fixes.
I'm now at the pointy end of things, about to setup the beds for co-planar and re-seat the knives.
I've got a question about re-setting up. I have yet to remove the knives,as I wasn't sure what to setup first. I've seen guides for setting up the outfeed table in relation to the knives and the knives in relation to the outfeed table, but what do you do if both need to be setup? Do you set the outfeed table up, ensure co-planar to the infeed table (by shimmying the outfeed or infeed tables.... another question in a question...) and then install the knives, using the outfeed as a reference? Or some other magical way? As I've left the knives in (unit was tested before moved to my residence), can I use them to setup the outfeed table, then remove them to sharpen and re-install using the previously setup outfeed as the reference? Has this long winded monster question even translated into english after it left my brain, went through the keyboard and got shot into the ethernet?
Kindest thanks in advance!
Jimbo
Jimbo,
I would probably get the tables coplanar and then set the knives to the outfeed table. Anything else just seems too complicated. For example, if you set the outfeed table to the knives that are currently in the cutterhead, then when you adjusted the infeed table for coplanar you would not be able to shim the outfeed table at all. That's a pain, especially on a jointer with dovetailed ways. So, go coplanar first, then set the knives.
Good luck.
Matt
Thanks mate,
The new veritas straight edge has finally arrived, so my setup can begin!
Frustratingly , it appears my infeed table has a slight non-linear decline towards the back (parallel to the knives), starting at about 2/3rds of the way. It's a at least a few dozen thousandsth lower than the front 2/3rds of the table. The outfeed table is dead flat (thank the gods).
This is a large beast, so I do have nearly two feet of flatness before the blades to register the piece against. The outfeed table is actually shorter in length, so with the decline, I could get the tables co-planar with about 2 feet on each table of actual usable iron.
Another thing to note, the decline is uniform across the entire width of the table, it almost appears (and this could be totally incorrect) that it was designed that way as the tables are over 2 inches thick and it just feels too perfect an arc to be some kind of warp. Unless this thing has been a bit off its whole life!
Anyway, given I can still get the tables to be co-planar (just to a shorter infeed than originally planned) and the decline is down and away from the knives on the infeed table, I think I'll get it setup and make some test cuts to see how it plays. I guess I keep my pressure on the front 2/3rds of the infeed as much as I can, I only really see this being a bigger issue on thicker, longer boards where the weight could make it difficult to keep flat at the front of the infeed.
I guess this isn't really a question, but I'd love to know your thoughts. I was even tempted to send Rolly/Rollie/Mr Machine an email (you gents are always joking about that ;) ), but it seemed more of an academic question than a mechanical one!
Thanks again for the help,
Jim
Apologies, I did actually have a question on top of my previous novella;
The tables slide horizontally on the beds, in and out from the knives, allowing me to close the gap between the tables and the knives before tightening them down. How close should I set the edge of the tables from the knives, or in another way, how much clearance from the tables should the knives have? I would assume the less distance the better for finer shavings, similar to closing the mouth up on a handplane? How close is too close?
Unfortunately this machine has no maker markings and I've not been able to actually find an answer to this after some serious web-trawling.
Thanks again for your most kind help.
Jim
Jim,
Sorry to hear about the infeed table. That's a real bummer. If it becomes a genuine problem, look into having it ground flat. My jointer has the same type of tables (slide in and out so that you can change how close they are to the blades). I keep my infeed table within 1/4 in. of the blades. As long as the blades aren't hitting the table, you should be OK.
Matt
I have one of these. I traded an 8" Grizzly for it. Be careful when you replace the knives. I learned that the hard way. No injuries except to the jointer itself. I purchased a Helix head for it and I love it.
nice post.
Nice article
Nice Article! I like it
What am awesome idea.
great
Thanks for sharing this
Helps me a lot bro.. thanks
That's good
Really is it 100 years old.? Can't believe.
Log in or create an account to post a comment.
Sign up Log in