A planing stop for long and thin boards
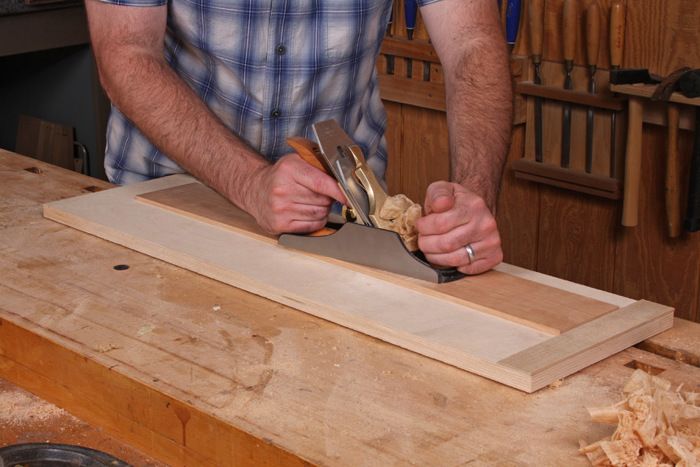
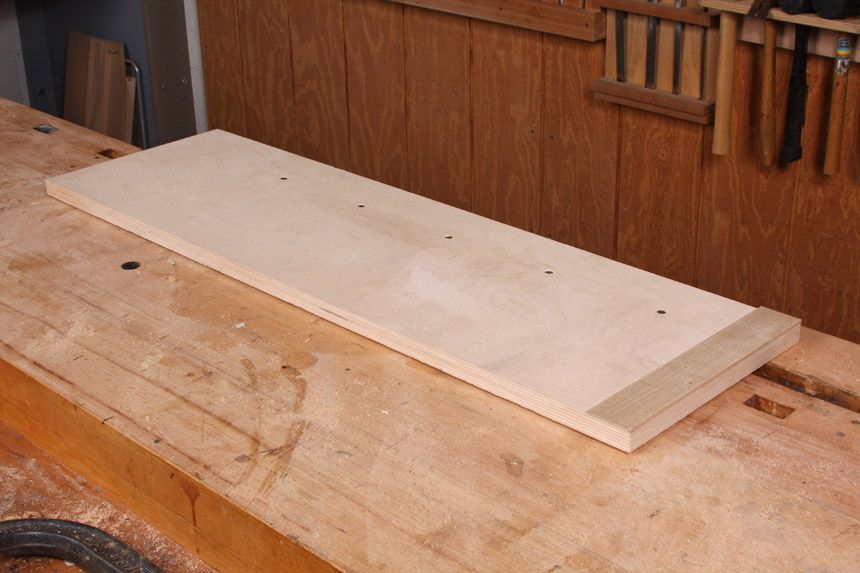
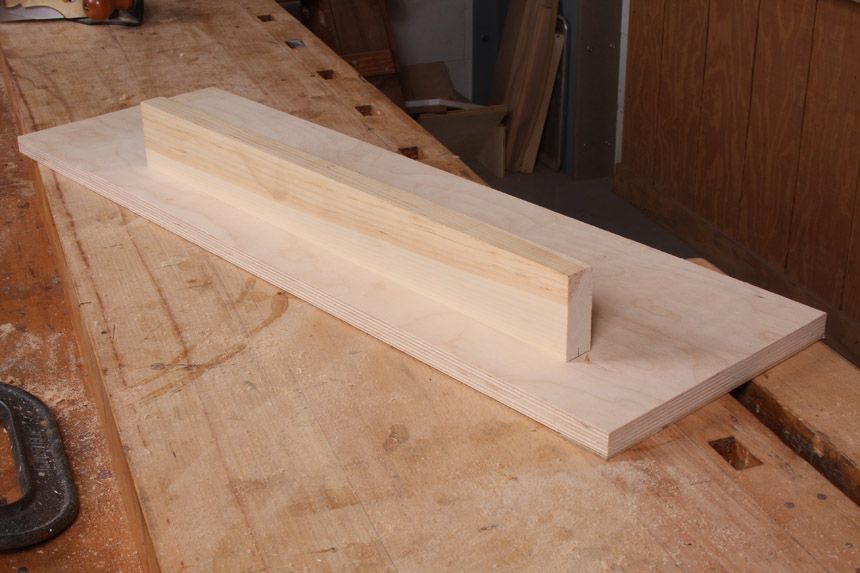
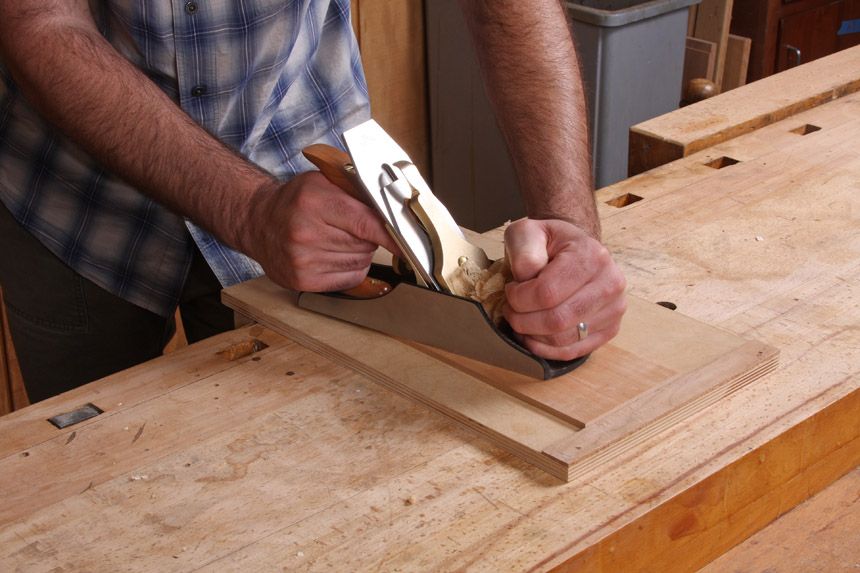
Perfect for thin boards. The plywood base on this planing stop is dead flat and rigid, which means the board stays that way, too. The stop at the ends is about 1/8 in. thick and attached with two-sided tape.
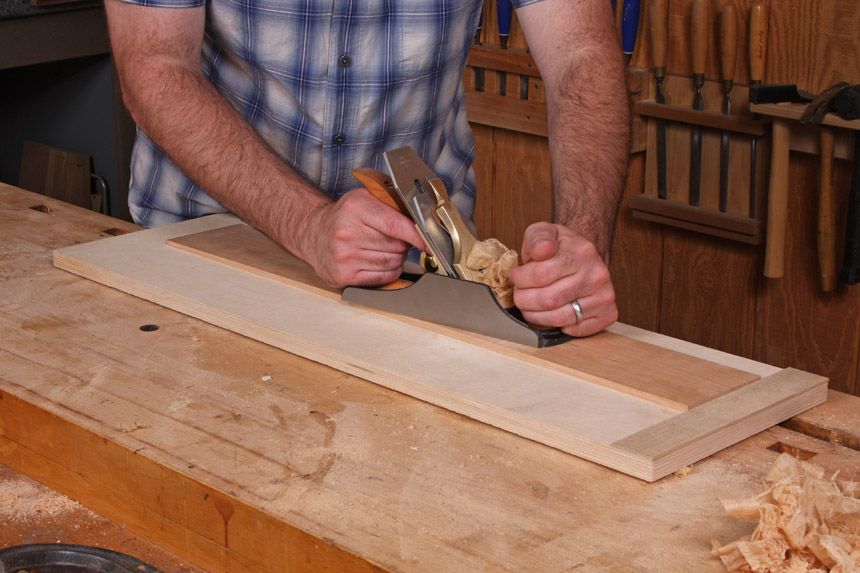
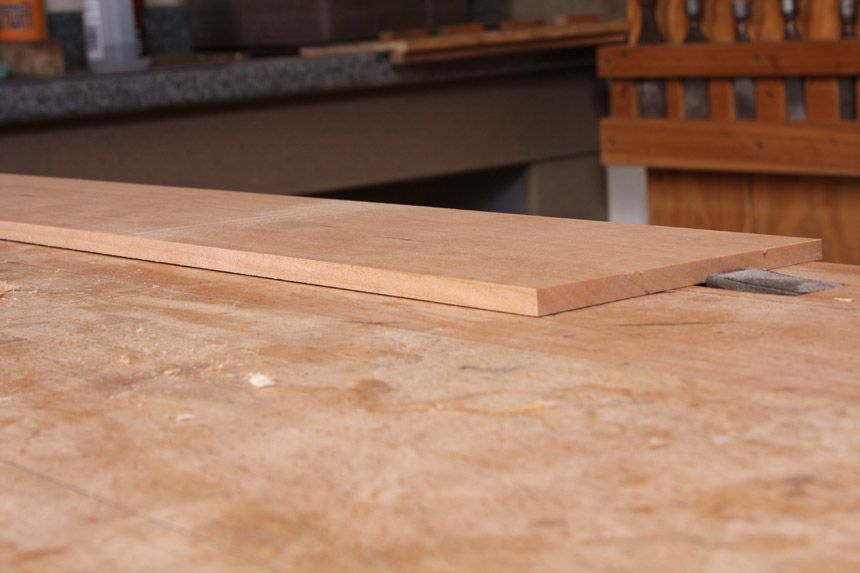
I long ago figured out that the best way to hold a short, thin piece of wood for planing is with a stop attached to a plywood base. You can see the one I use in “Make Short Work of Small Parts.” It works great, but only for short pieces of wood. But anything over 12 in. long doesn’t fit on the jig. Before now, I placed those longer pieces on my bench and planed them against an adjustable stop attached to the end of my bench. It works fine, but I knew there was room for improvement. And then it dawned on me (and only in the last week): make a bigger stop with plywood base. I can’t believe it took me so long to finally do this! The only differenve between the big and small versions is that the big jig is set up so that I can plan along the bench’s length inside in toward the middle. Take a look at the photos above to see how I made it.



Comments
Nice idea, but you must have more room in your shop to store jigs than I do. I normally just plane narrow thin stock against a bench dog with only 1/8" protruding above the bench top. For wider pieces I run a 2" wide strip of 3/8" plywood across the width of the bench, held in place by bench dogs on each side. If the stock is thinner than 3/8" I just place a piece of 1/4" plywood under it. Same idea as your jig, but the pieces go back into my scrap boxes, instead of hanging on the wall as yet another jig.
Great idea. It has been a long time since I have seen a dead flat piece of Plywood. Where do you get that stuff?
The picture along with the description makes it very exciting to try out this idea. It’s carried out really well. Would love to put the idea into action! http://www.maecanada.com/
Log in or create an account to post a comment.
Sign up Log in