Tool Cabinet for a Workbench
Keep hand tools close at hand but out of harm's way.
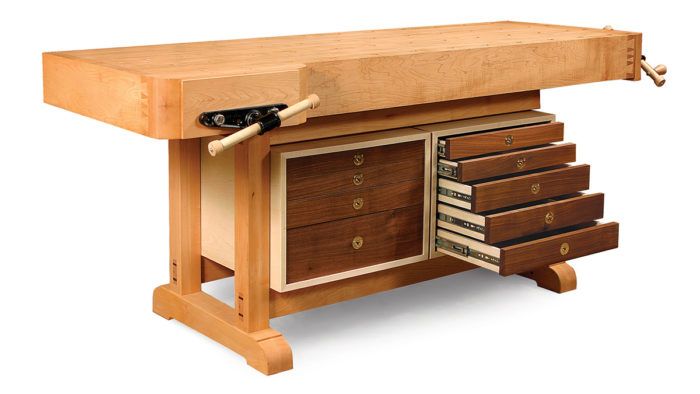
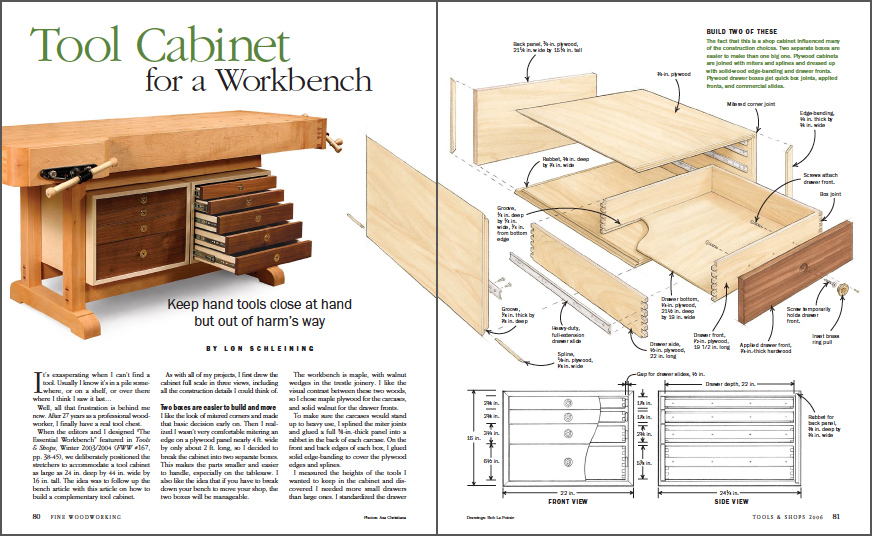
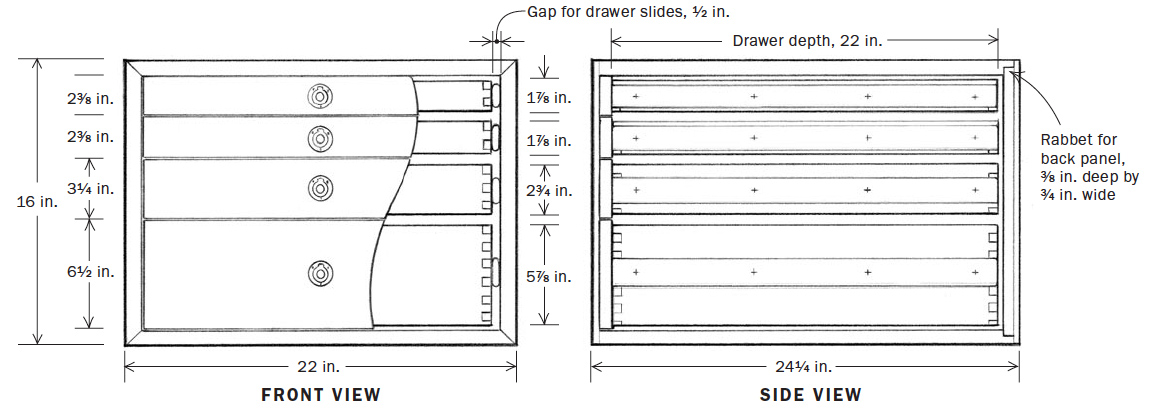
Synopsis: This workbench tool cabinet is designed to complement the Essential Workbench, featured in Tools and Shops, Winter 2003/2004 and designed by Lon Schleining and the Fine Woodworking editors. The fact that it will be used in the shop influenced most of the design choices. Made up of two boxes for easier handling, it fits between the workbench stretchers in a space 24 in. deep by 44 in. wide by 16 in. tall. Constructed of maple plywood with solid walnut drawer fronts, the carcases are joined with miters and splines and dressed up with solid-wood edge-banding and drawer fronts. The plywood drawer boxes are assembled with quick box joints, applied fronts, and commercial slides.
It’s exasperating when I can’t find a tool. Usually I know it’s in a pile somewhere, or on a shelf, or over there where I think I saw it last…
Well, all that frustration is behind me now. After 27 years as a professional woodworker, I finally have a real tool chest.
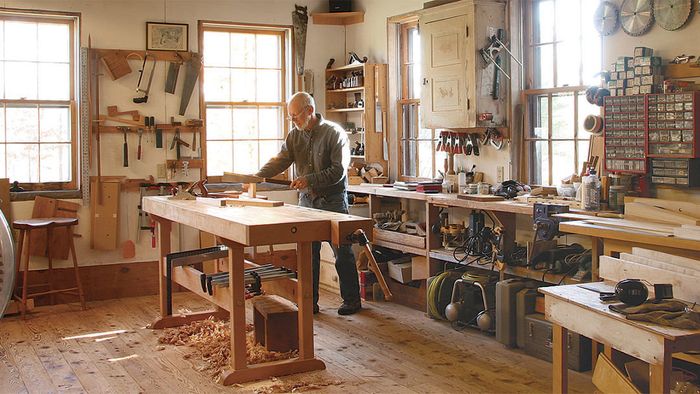
When the editors and I designed “The Essential Workbench” featured in Tools & Shops, Winter 2003/2004 (FWW #167), we deliberately positioned the stretchers to accommodate a tool cabinet as large as 24 in. deep by 44 in. wide by 16 in. tall. The idea was to follow up the bench article with this article on how to build a complementary tool cabinet.
As with all of my projects, I first drew the cabinet full scale in three views, including all the construction details I could think of.
Two boxes are easier to build and move
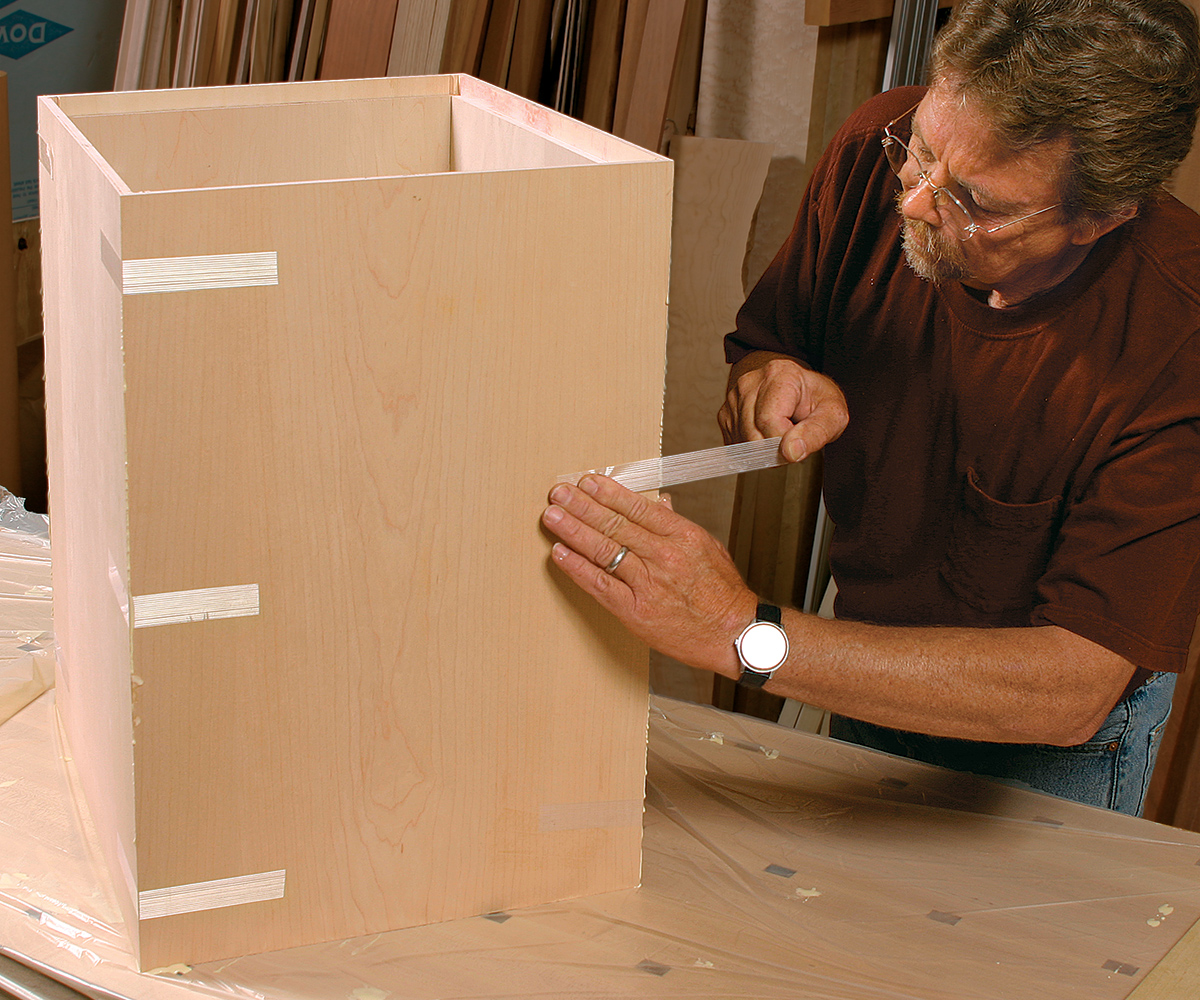
I like the look of mitered corners and made that basic decision early on. Then I realized I wasn’t very comfortable mitering an edge on a plywood panel nearly 4 ft. wide by only about 2 ft. long, so I decided to break the cabinet into two separate boxes. This makes the parts smaller and easier to handle, especially on the tablesaw. I also like the idea that if you have to break down your bench to move your shop, the two boxes will be manageable.
The workbench is maple, with walnut wedges in the trestle joinery. I like the visual contrast between these two woods, so I chose maple plywood for the carcases, and solid walnut for the drawer fronts.
To make sure the carcases would stand up to heavy use, I splined the miter joints and glued a full 3⁄4-in.-thick panel into a rabbet in the back of each carcase. On the front and back edges of each box, I glued solid edge-banding to cover the plywood edges and splines.
I measured the heights of the tools I wanted to keep in the cabinet and discovered I needed more small drawers than large ones. I standardized the drawer sizes as much as I could so that I could make several parts of the same size. Your tools differ from mine, so size the drawers accordingly.
From Fine Woodworking #181
To view the entire article, please click the View PDF button below.
Fine Woodworking Recommended Products
WoodRiver Router Bit Storage Case
Woodriver Rechargeable Desiccant Bag


Comments
Some good ideas here, and just in time. My new work bench is almost done and I'm starting to plan my tool box for underneath it.
I would like to see this tool layout inside the drawers.
Log in or create an account to post a comment.
Sign up Log in