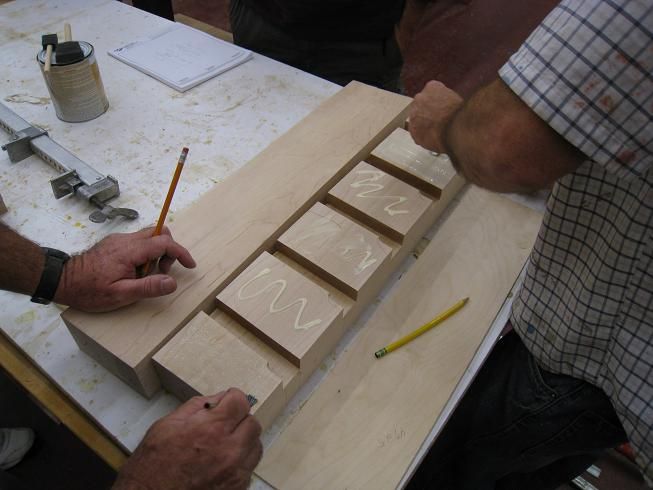
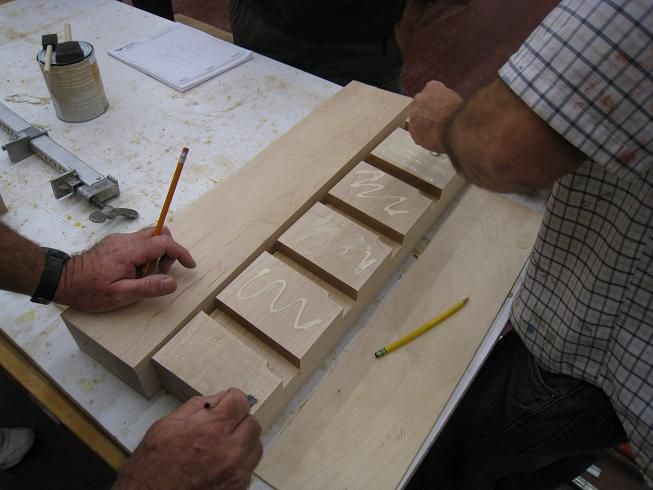
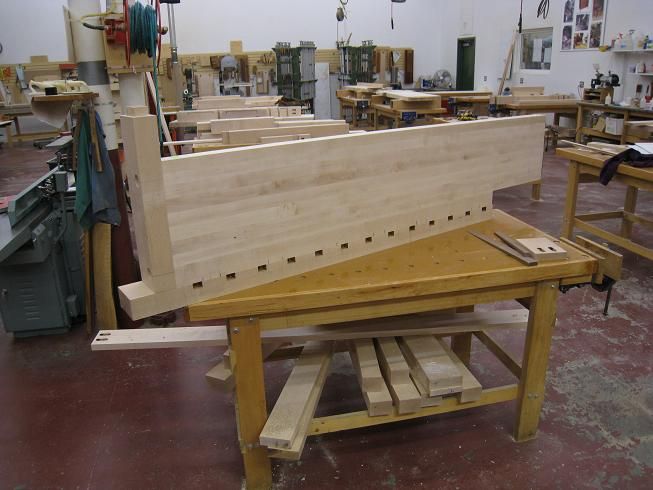
Putting glue on the end vise parts. Before starting the glueing we put a coat of shellac on the surfaces of the benchdog cutouts to make it easier to remove the squeezeout.
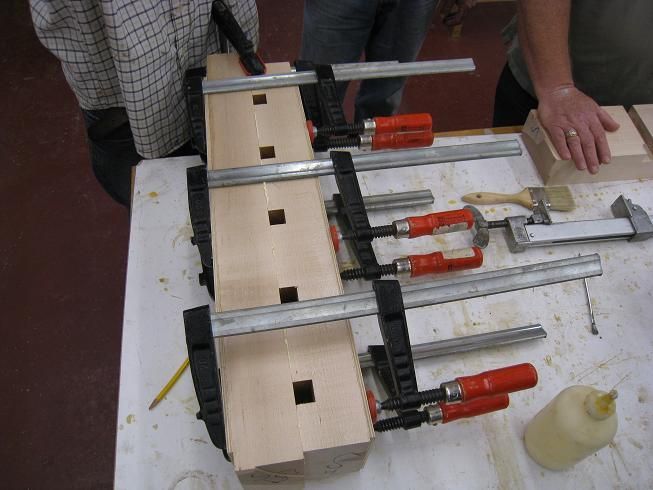
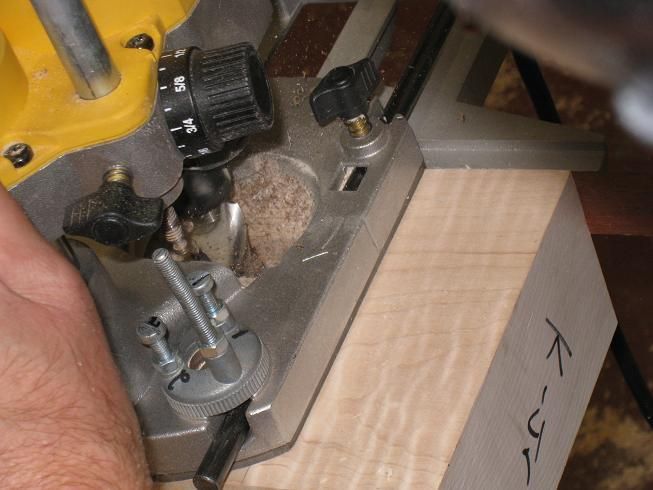
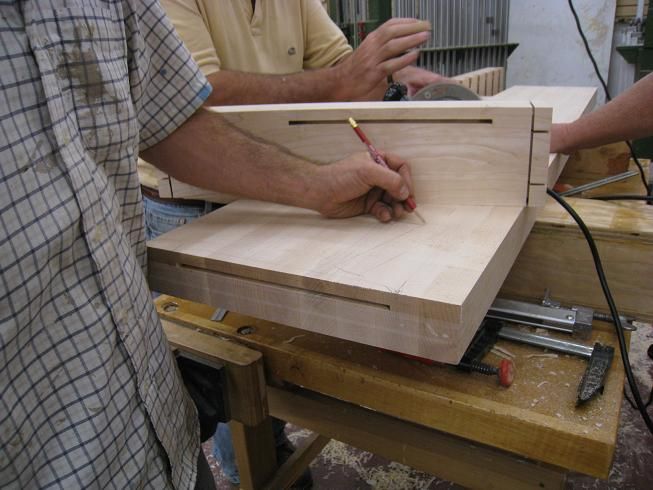
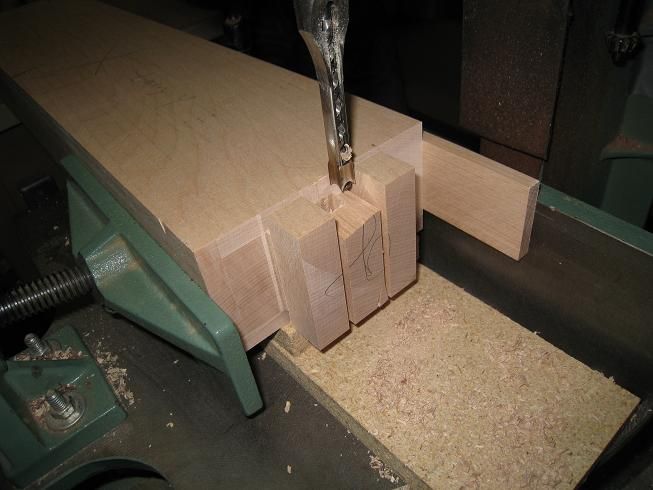
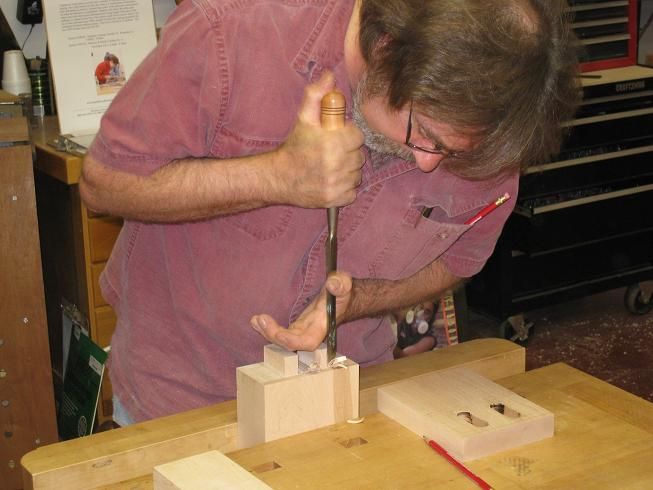
Today was the second day of class at the Connecticut Valley School of Woodworking for Building a Workbench. This was a busy day with multiple operations going on at once. In addition to cutting twin mortises and tenons for joining some benchtop parts together, we planed the benchtops to 2 1/2 inches thick, cut them to exact length, cut mortises for capture nuts to hold on the endcaps, and prepared the endcaps with recessed boltholes and positioning splines. At the end of the day several parts of the first benchtop had been dryfitted together.
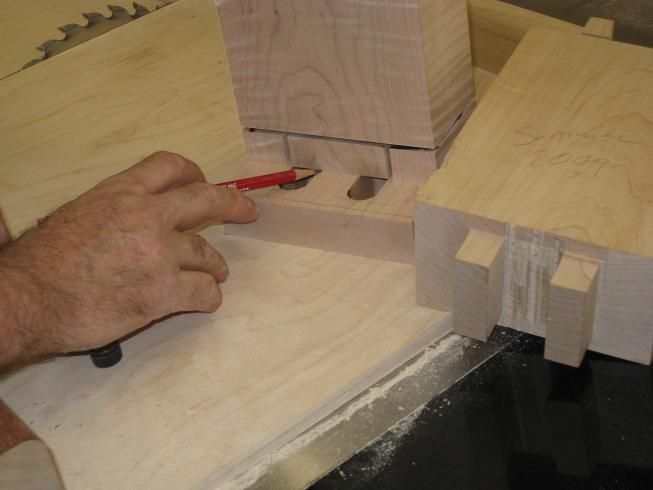
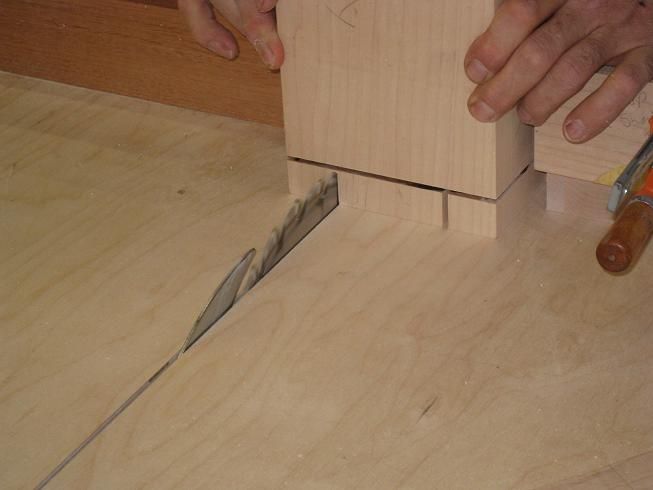
Jigs, Fixtures and Setups are Key This workbench is made from large, thick pieces of heavy maple. To fashion them into a workbench where all the parts fit precisely takes many jigs, fixtures and extemely accurate machine setups. Bob and Tim have been through this together in previous classes and have come up with a set of jigs and a way of setting up each operation. Every setup is done with test parts and tweaking to get the exact dimensions needed. The stops on the tablesaw for cutting the tenons are adjusted using a round headed screw which the part butts up against. Adjusting the length a minute fraction is done by turning the screw in or out. (Learn more about this stop setup in a video tip with Bob Van Dyke.)
By placing the screw so that it contacts the middle of the part no matter which face is up we can cut the tenon shoulders precisely.
Seeing how this done in the class I realize it would be difficult, time consuming and expensive to build this complicated a workbench in your home shop. By having access to the accumulated experience of several past classes, and building jigs and fixtures which can be shared by not only this class but future classes it is possible to do it in a reasonable time and at a reasonable cost.
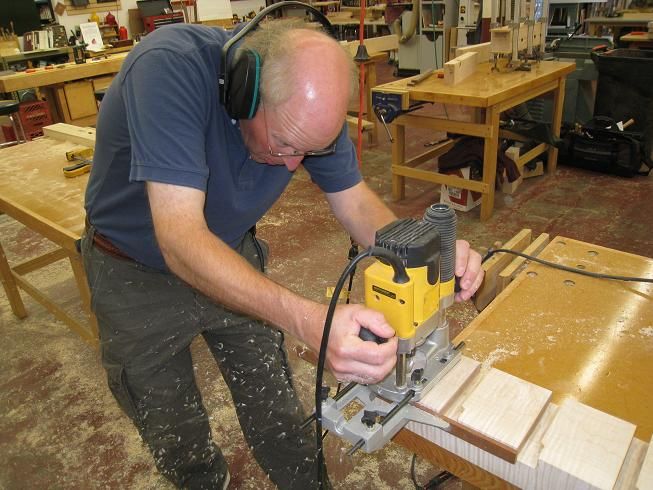
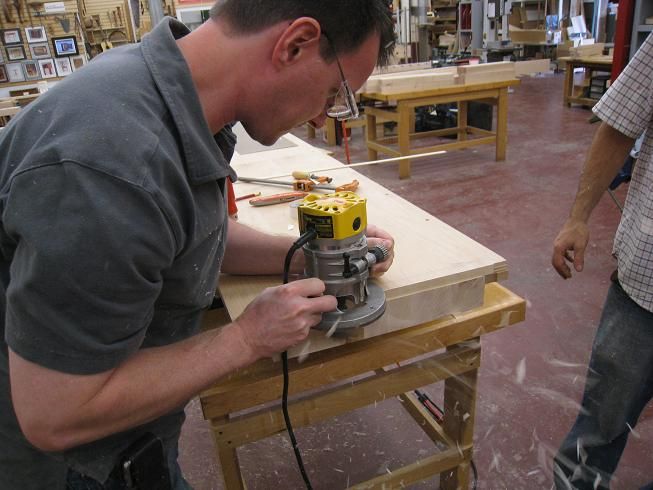
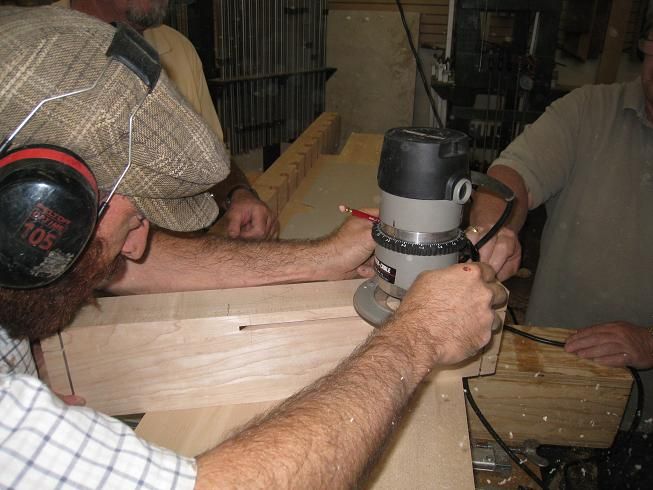
Even with all of the preparation there can be miscut pieces if a detail is missed. For example when I was cutting the end of my benchtop, I failed to check that a clamp holding the guide board had been securely tightened. It wasn’t. I thought that my helper had done it, but it was my responsibility to confirm it. The result was that the guide board moved slightly as I was routing the end of the top resulting in a divot near the end. The solution was to recut it, so now my bench top will be 1/8 inch shorter than the others. Who was it that said “A mistake is not a mistake if you can fix it.”?
We worked late today to accomplish all of the assigned tasks, but Bob assured us at the end of the day that we were still on schedule. Tomorrow, day 3, we will be “excavating” the end vise to accept the Lie Nielsen metal vise hardware, and attaching the back rail, benchdog slab and endblocks to the top. That will take us a long way toward completion of the benchtops by day 5 when they will receive the final sanding. Day 4 will see us making the parts and installing the vise hardware for the twin screw front vise.
Come back tomorrow and I will tell you how it went and show you more pictures.




Log in or create an account to post a comment.
Sign up Log in