Simple fixture flattens curved drawer fronts for joinery
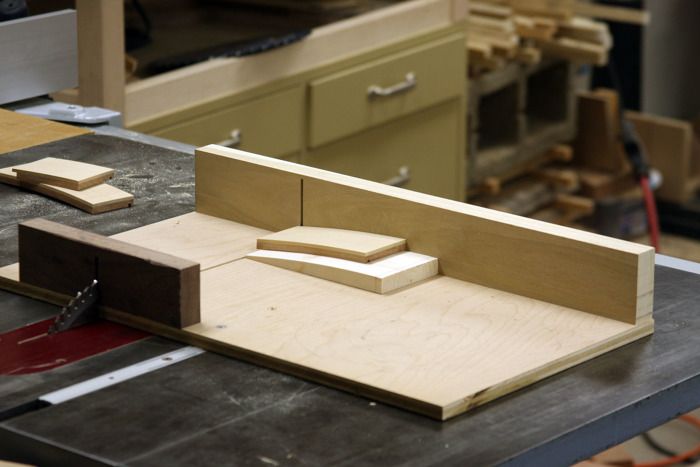
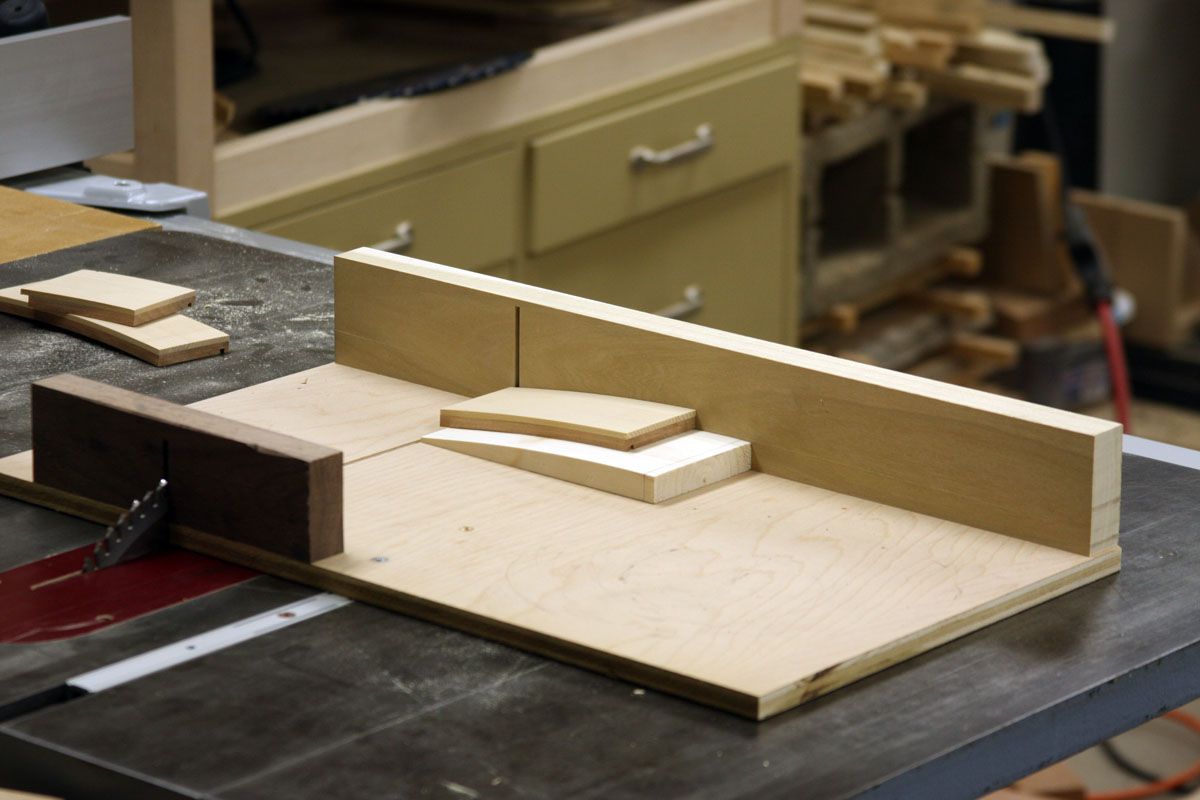
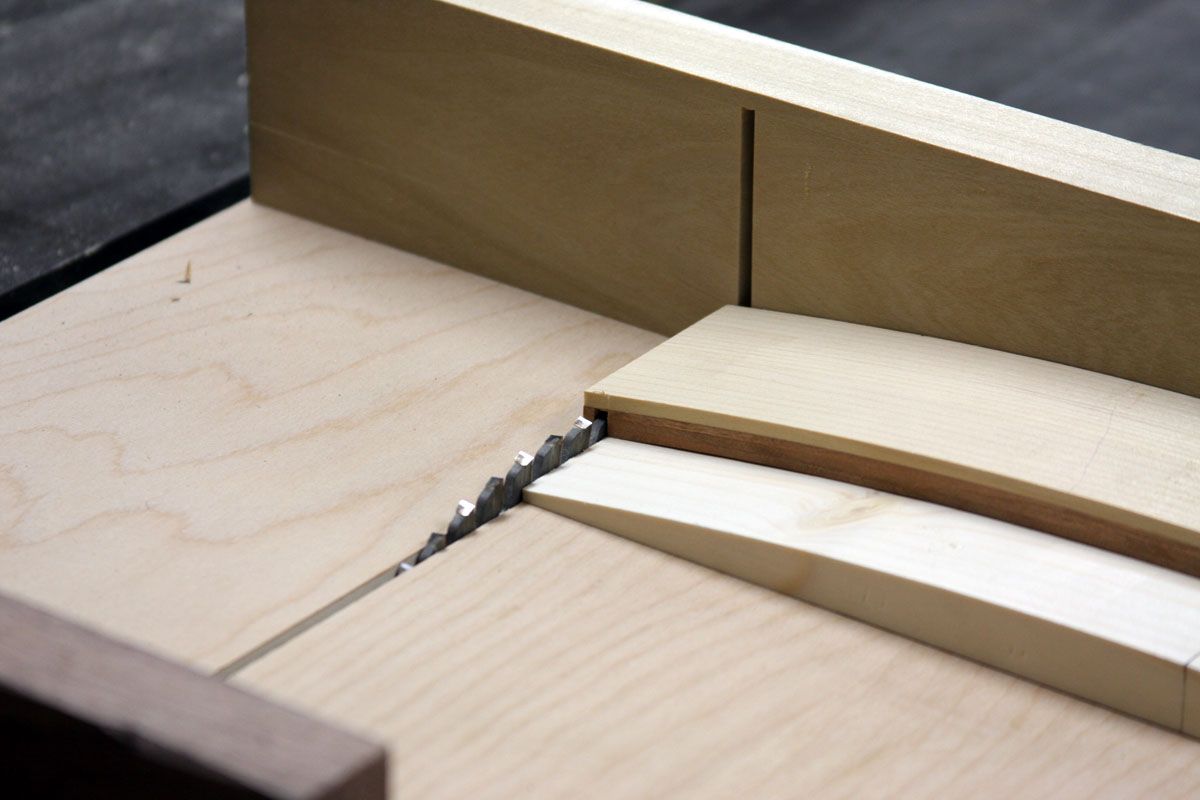
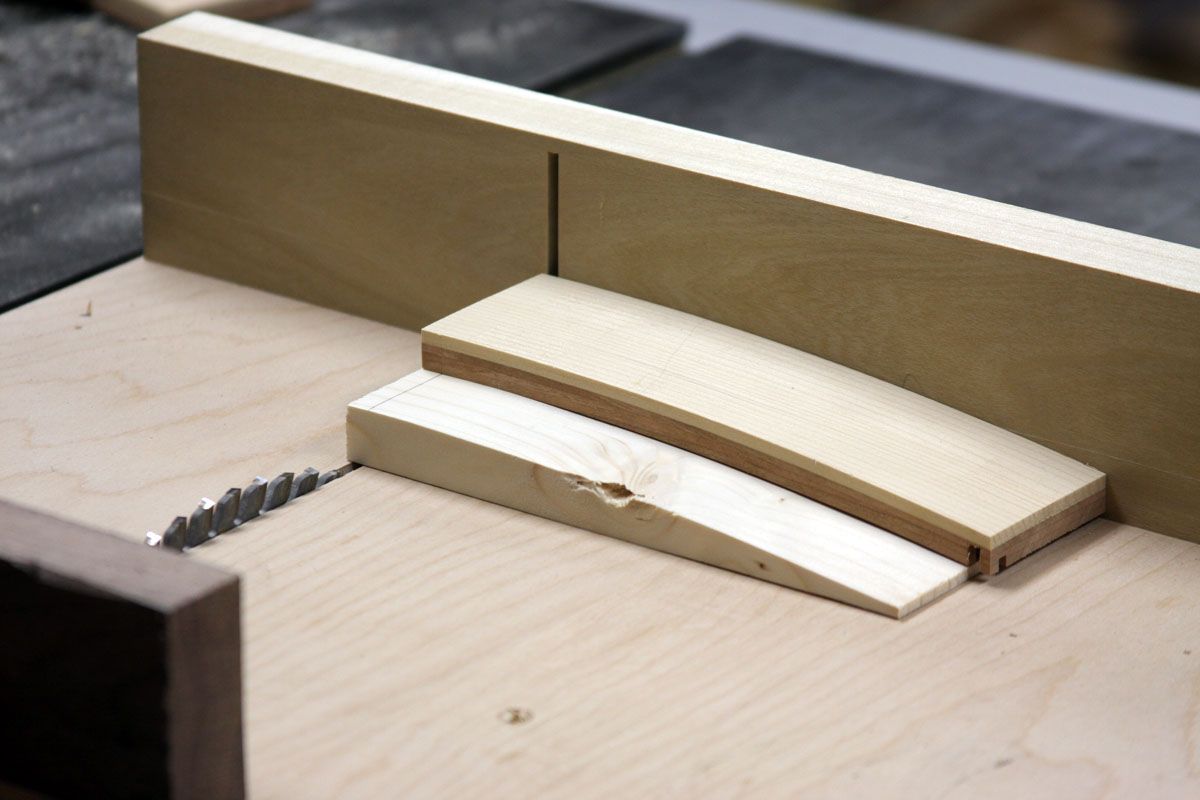
The solution. It's actually simple. Just a cradle that's curved on the top to match the curve of the drawer fronts.
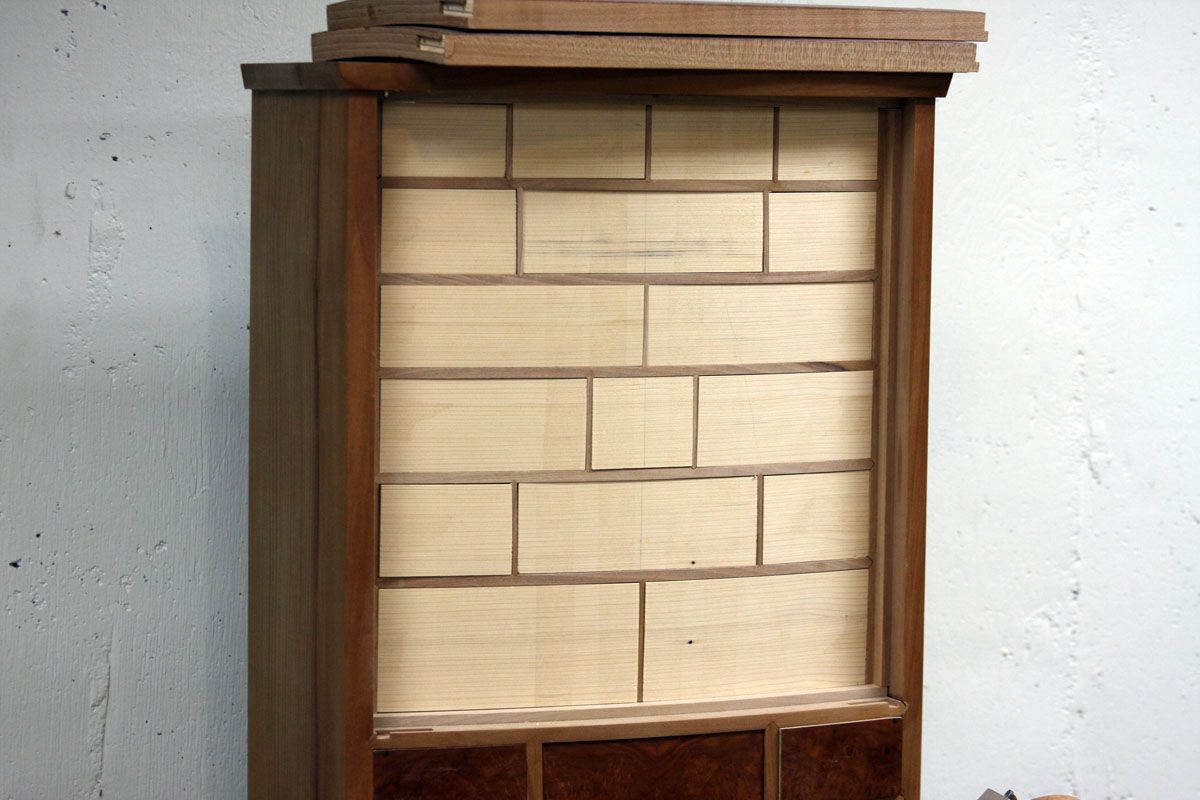
Earlier this year, I wrote a blog about how I rout the drawer bottom grooves in curved drawer fronts and cut them to length. I followed up with one about grooves for asymetrically curved drawers and how to cut more than one front from a longer blank. And although it might seem I’m moving at a glacial pace, I’ve finally got a third installment on how I deal with curved drawer fronts. This time, I’m explaining how I make rabbets in the ends of the fronts for the joinery. (The sides of the drawers are joined to the front with pinned rabbets–I plan to use copper nails for the pins, but might change to just a wood peg.)
MORE TABLESAW SLEDS
Super-Precise Crosscut Sled
Tablesaw Sled for Precision Miters
A Tale of Two Tablesaw Sleds
Ultimate Crosscut Sled ![]()
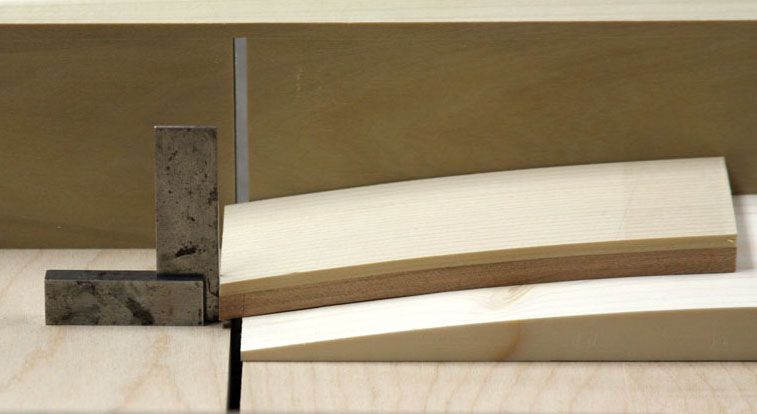
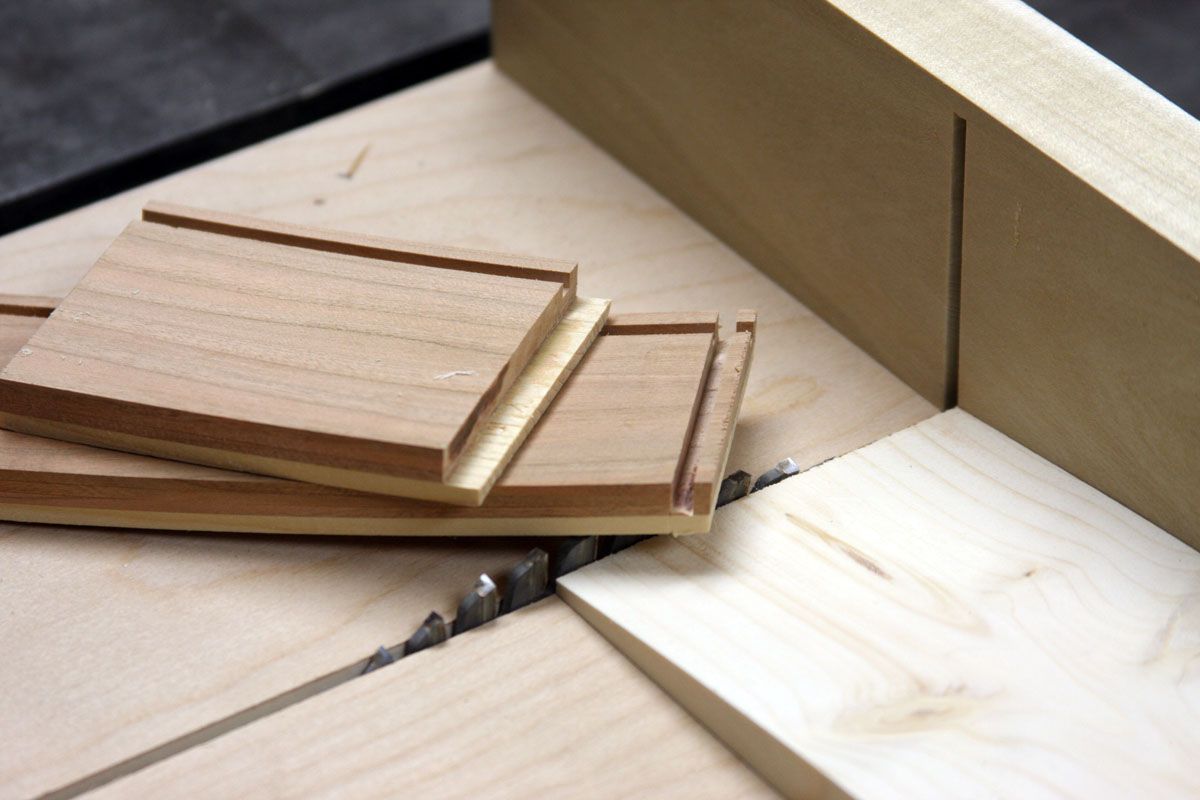
First, the problem: You can’t use a rabbetting bit or dado set to make the rabbet, because they only cut 90 degree rabbets (the two sides of the rabbet meet at 90 degrees). And none of the rabbets on a curved drawer front, at least not mine, meet are 90 degrees. That’s because one side runs parallel to the front of the drawer, which is curved, so it always intersects the the other side at an angle greater or less than 90 degrees. My solution is to use a standard table saw blade to cut the side of the rabbet that is parallel to the end grain and then get rid of the waste with a chisel. Works greeat, but you do need some way to hold the drawer front in the correct position as you run it over the blade. The best solution I could come up with (if you have a better one, let me know) is to make a craddle that matches the curve of the drawer front. It’s simple and easy. I like that. Take a look at the photos to see how it works.
One more thing. The cradle I made is half the width of the cabinet, but I can cut all of the rabbets with it. All of the outside rabbets are cut with the low end. All of the rabbets that are at the midway point of the cabinet are cut with high end. From there, I’ll just cut the cradle shorter so that I can make the rabbets that fall inbetween the middle and the outside edges.



Comments
I have been working with a similar problem- having to make 8 different angled rabbits on my curved front cabinets.
An adjustable device was needed, and in order to more easily see the pencil line, I made the "sled" from 1/2" acrylic. The drawer fronts are 4" wide, as are the bottom and sides of the sled, screwed, not glued, so that it can be modified for another drawer width. To cut the edge square to the length of the drawer on the table saw, I clamp the drawer front in and use a spacer in the crosscut sled. I then put that squared dovetail edge along the router fence to cut the rabbit. It works like a charm, and I can make my pencil line easier than with an mdf sled.
Maybe I sound like a "Neander" but what happened to non-power tools as a solution?
A coach plane will deal with the curves and a shoulder plane will readily handle the drawer front ends.
By the time all the power tool and jig prep is done you could be having a cool drink!
That is, unless you plan to build a slew of them- A jig would make sense then.
Windwoodtrader,
Thanks for the ideas. A shoulder plane actually won't work on 1/2 of the rabbets, because the angle of the rabbet's corner is less than 90 degrees. As for a coach plane, I don't have one and I've never seen one out in the wilds. And by the time I track one down or make one, I would have blown past the grooves many weeks before using my method. I'm all for using handtools--and I rely on them heavily in my shop--but I don't use them just to use them. I use them when they are practical. And a coach plane is not a practical solution in this case (at least not for the overwhelming majority of woodworkers).
Matt
Log in or create an account to post a comment.
Sign up Log in